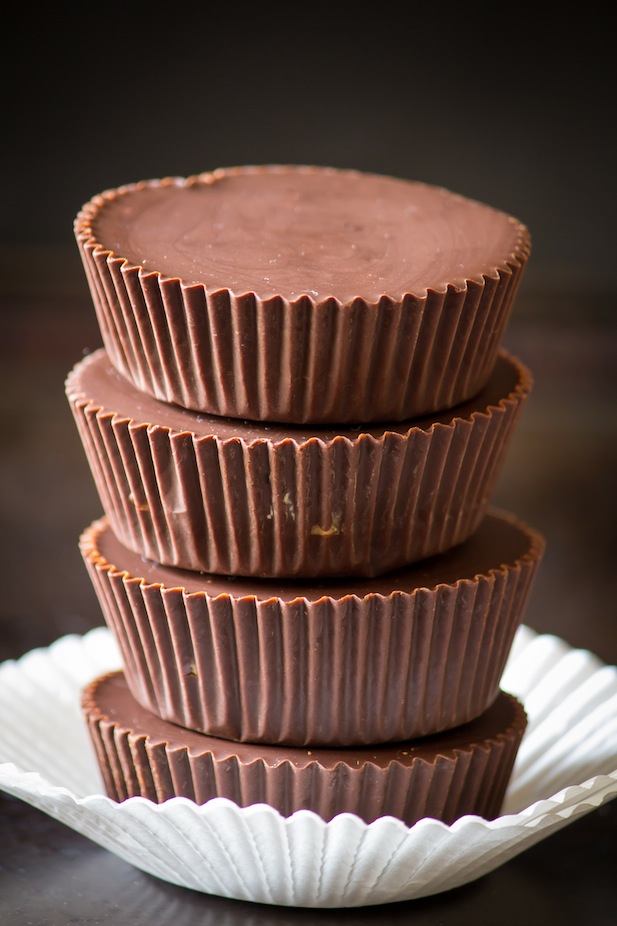
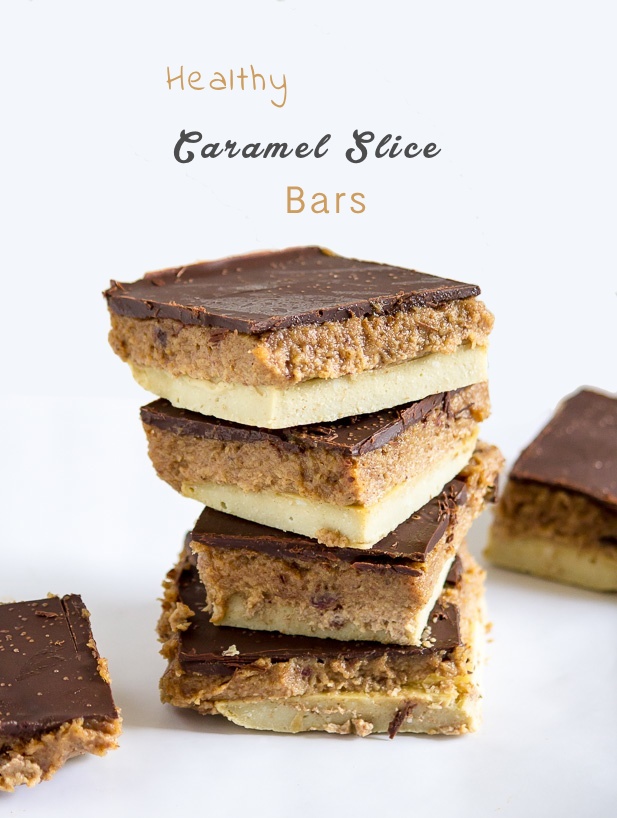
Healthy Caramel Slice Bars
/
This is one of those dangerously delicious recipes. I warn you now that these bars are basically addictive. Addictive but oh so healthy.
I've been itching to get this recipe up and posted on the blog for like a month now. That's also how long I've had this draft open on my computer. Things have been a bit crazy but I wanted to make sure this recipe turned out just perfect. And the photos eye popping delicious of course. I must thank you all for the wonderful comments on my photography lately. I'm always working to improve and learn more, so thanks a bunch! It means a lot to me.
I'm super excited for these bars because they're totally sugar-free. The only sugar you'll find in this dessert is the natural sugar from the dates and whatever small amount that exists in the dark chocolate topping.
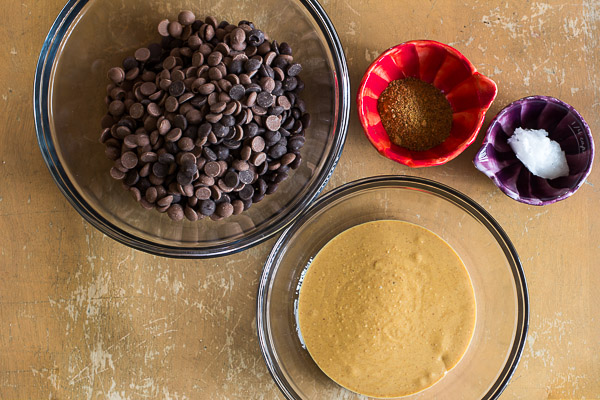
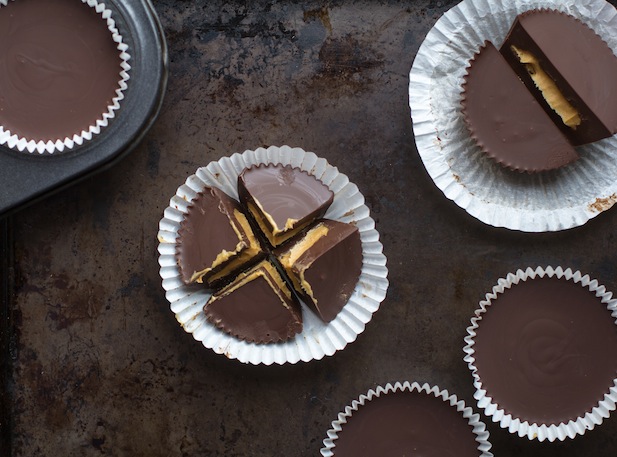
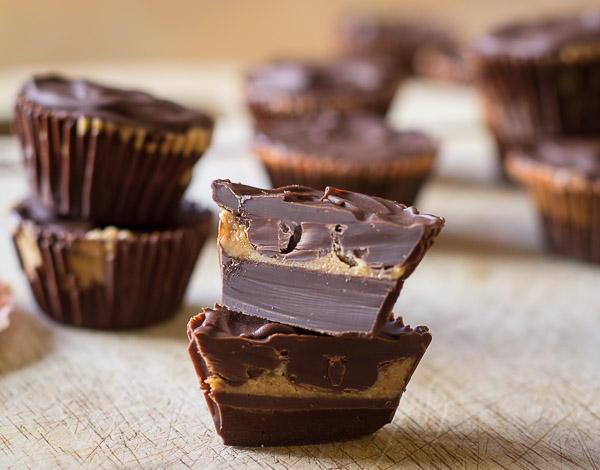
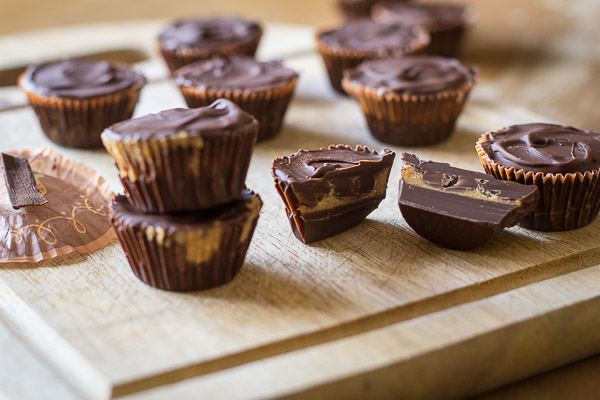
The caramel layer of these bars are made from just a few things:
- pitted dates
- cashews, soaked in water and drained
- almond milk
- sea salt
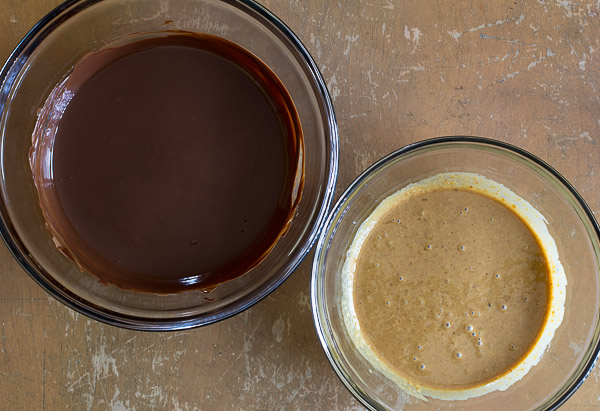
Soaking the cashews helps to make the caramel layer silky smooth and easy to blend. You can soak them overnight or at least 2 hours if you are short on time. Once everything is blended together you're left with a slightly sweet caramel like spread.
Holy friggin' delicious!
These dessert bars aren't too difficult to make. Trust me, the little bit of freezer time it takes for them to set is worth the wait!
Healthy Caramel Slice

Prep Time: 20 minutes
Cook Time: 15-20 minutes
Keywords: bake food processor blender dessert snack dairy-free sugar-free gluten-free grain-free cashews chocolate dates coconut flour bars
Ingredients (makes 8 large or 16 small squa)
Base- 2 tablespoons melted coconut oil
- 3 eggs + 1 egg white
- 1/3 cup coconut flour
- 1/4 cup arrowroot powder
- 1/4 cup almond milk
- 1 teaspoon vanilla extract
- pinch of sea salt, to taste
- 1 1/2 cups dates, pitted
- 1 cup unsalted cashews, soaked in water overnight
- 2 tablespoons almond milk
- pinch of sea salt
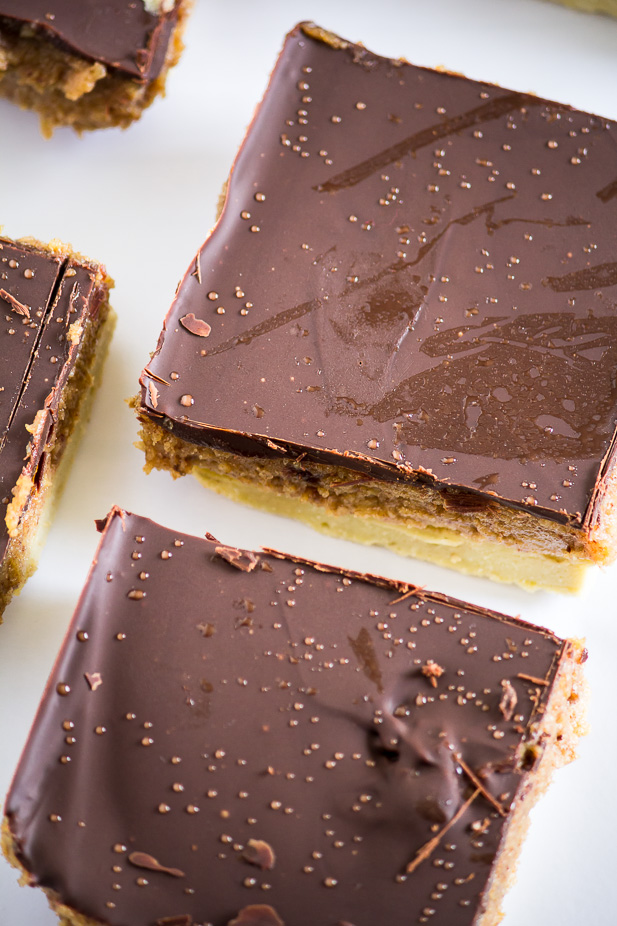
- 145 grams dark chocolate
Instructions
To make the basePreheat oven to 350ºF. Line an 8-inch square pan with two pieces of parchment paper, one going each way. This makes it easy to lift out the bars later on.
Mix all of the base ingredients together until combined and batter is formed with no lumps. Pour the mixture into the bottom of prepared baking pan. Bake for 15-20 minutes, or until golden. Remove from oven and set aside to cool.
To make the caramel layerAdd all the middle layer ingredients into the processor and process until smooth. Spread evenly onto your base layer and smooth out. Place in the freezer for at least 1 hour to set, until the middle layer is very firm to the touch.
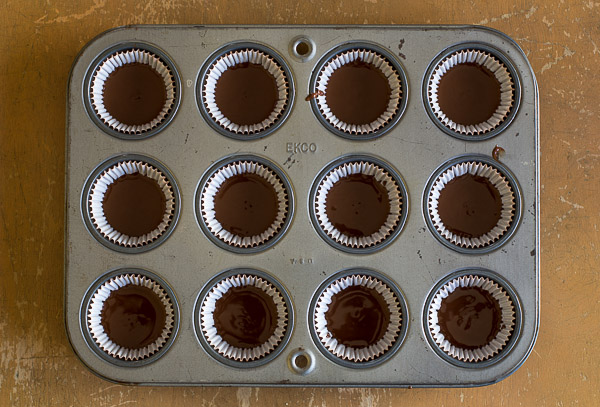
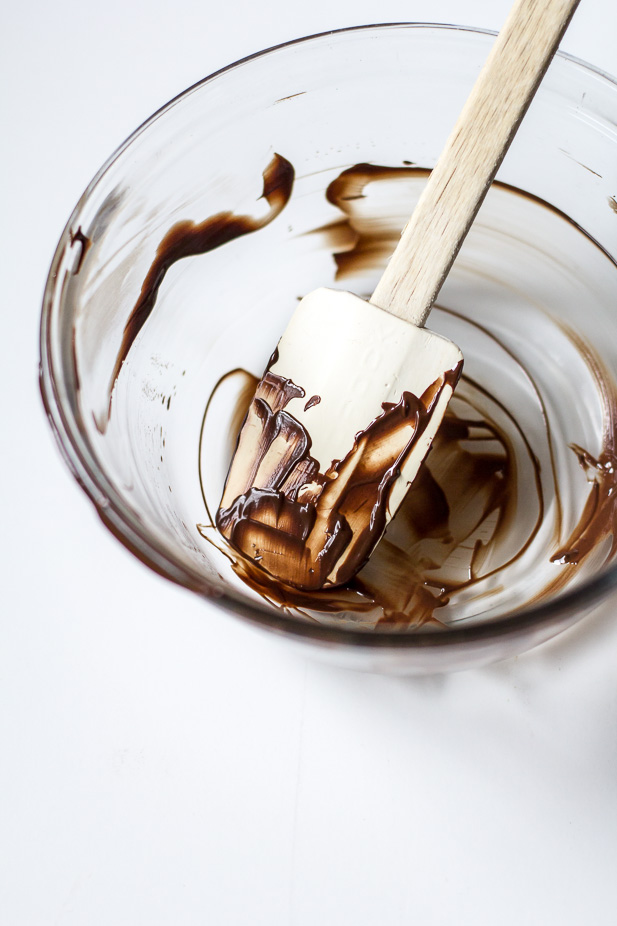
To make the chocolate toppingWhen the middle layer is completely solid, prepare the topping. Melt the chocolate in a double broiler and spread evenly over top of the caramel layer. Return to the freezer until the chocolate is firm and the bars are solid.
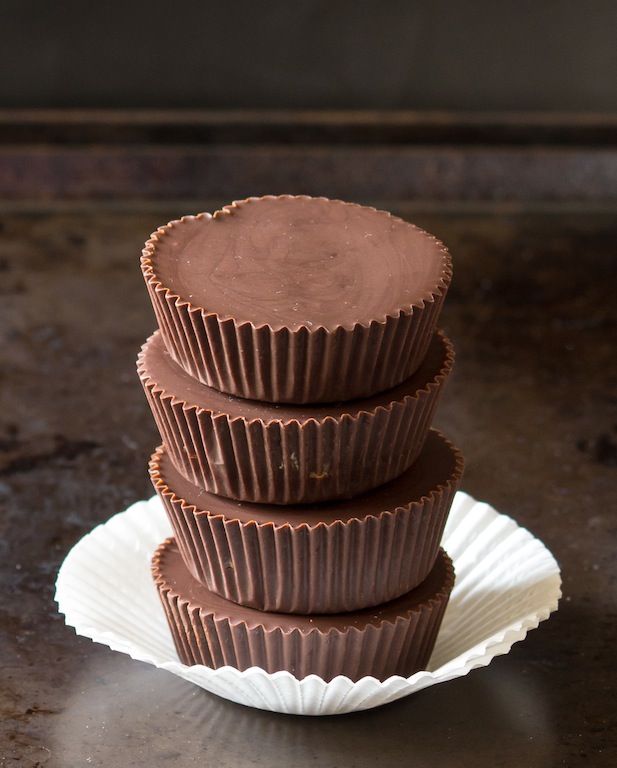
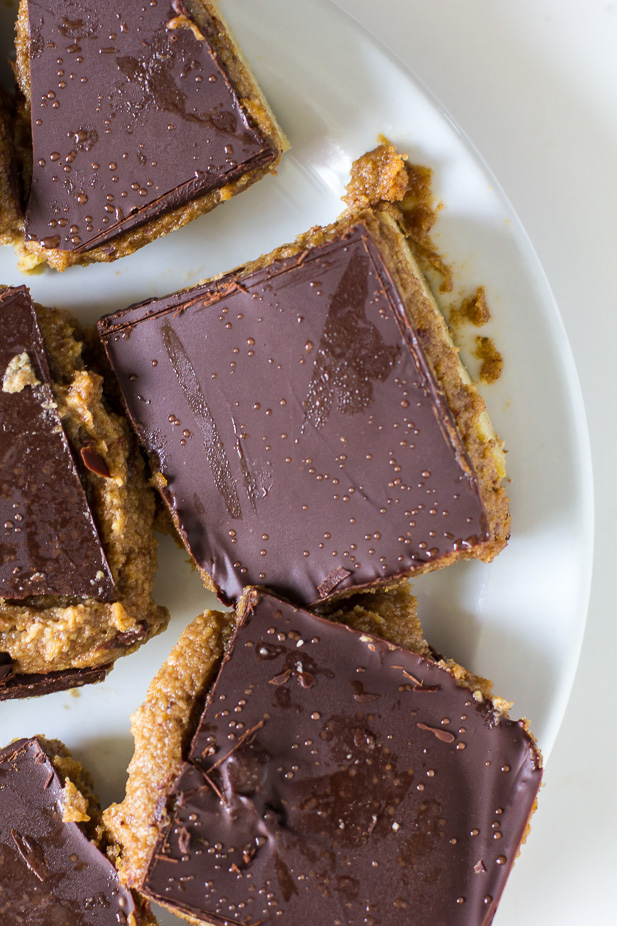
Remove from the freezer 15 minutes before gently slicing. Serve with a sprinkle of sea salt on top if desired. Wrap leftovers and store in the fridge or freezer.
Happy Friday!!!