How To Freeze Strawberries

Strawberry season is sadly long gone with the first frost of fall. The last warm days reminiscent of summer are lingering. And the nights are getting cooler.

how to freeze strawberries

That's all the more reason to buy what's left of the fresh, local strawberries and package them up for the cold winter months when I need a little reminding of what summer air smells like.

This naturally sweet fruit is one of the easiest, simplest things you'll preserve all year round. It also makes a wicked jam.

preserving strawberries

Strawberries are very delicate and sensitive to heat, so it's best to freeze them shortly after buying (unless of course you're enjoying them fresh). I should note that refrigerating them does not improve their quality -it will only keep them fresh for 2 to 3 days.  Warm temperatures will cause strawberries to brown because the pigments that make them red are heat sensitive and break down when exposed to heat. The all important Vitamin C is also heat sensitive, and will be lost as well when strawberries turn brown, or are heated when cooked.

When freezing your berries, whatever you do, please do not just lump this gorgeous fruit together into a plastic bag. They will just freeze together into a giant ball and get freezer burn. This will make it impossible for you to grab a handful of strawberries for smoothies and other things like dessert. Think of the vanilla ice cream! Let's give them a little tender love and care!

storing strawberries

How to Freeze Sliced or Whole Strawberries

  1. Make sure you buy strawberries that are free of any mold. To wash, place berries in a colander and rinse under cold running water. Do not allow them to sit in water as they will lose colour, flavour, and nutrients.
  2. After washing, remove the green cap with a pairing knife without removing any of the fruit.
  3. Slice the berries (optional), lay them on a baking sheet covered in a sheet of parchment paper making sure there is minimal touching, and freeze until solid. At least 1 hour or longer.
  4. Transfer the berries to a plastic resealable freezer bag and store in your freezer for 6 months.

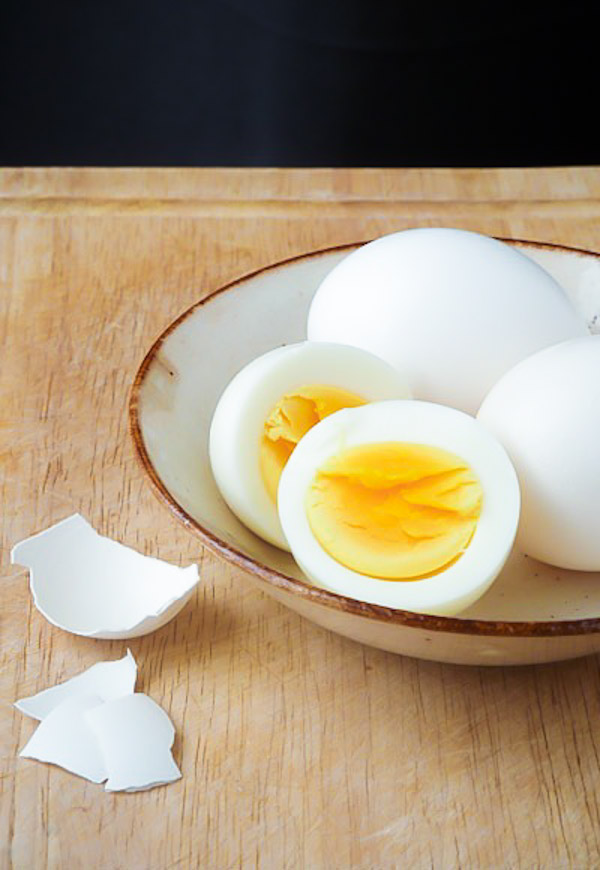
Perfect Hard Boiled Eggs

How to boil eggs

I love eggs. Who doesn't? Poached, hard boiled, scrambled, baked, you name it. They're the perfect portable snack, breakfast accompaniment and can even be the fancy main dish. They also have all the amino acids and protein your body needs. Ah, pure energy. Remember Rocky and his blender full of raw eggs...yeah eew! I certainly wouldn't advise anyone to eat raw eggs, but you get the idea. They are a great way to get high quality protein into your diet to help provide long-lasting energy and decreased hunger throughout the day.

perfect hard boiled eggs

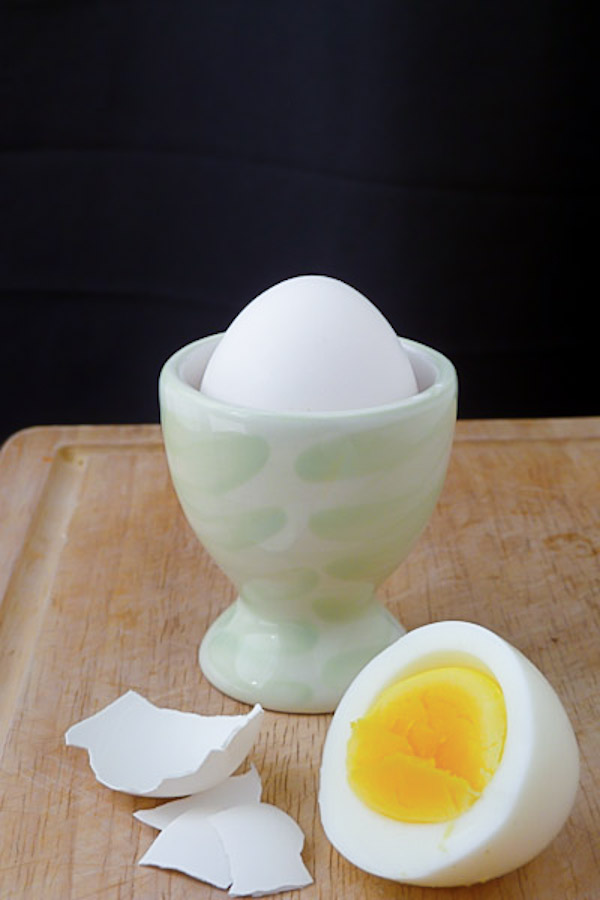
When I was younger my Grandma used to make me boiled eggs. Sometimes she would serve them to me with little thin strips of toast for dipping into the egg yolk. I haven't done that in so long, but I remember it how much fun it made lunchtime. I don't know if this is an English thing, but I've since learned from Jamie Oliver that he calls it boiled eggs and soldiers, and it really does make an awesome meal idea for getting kids to eat their food.

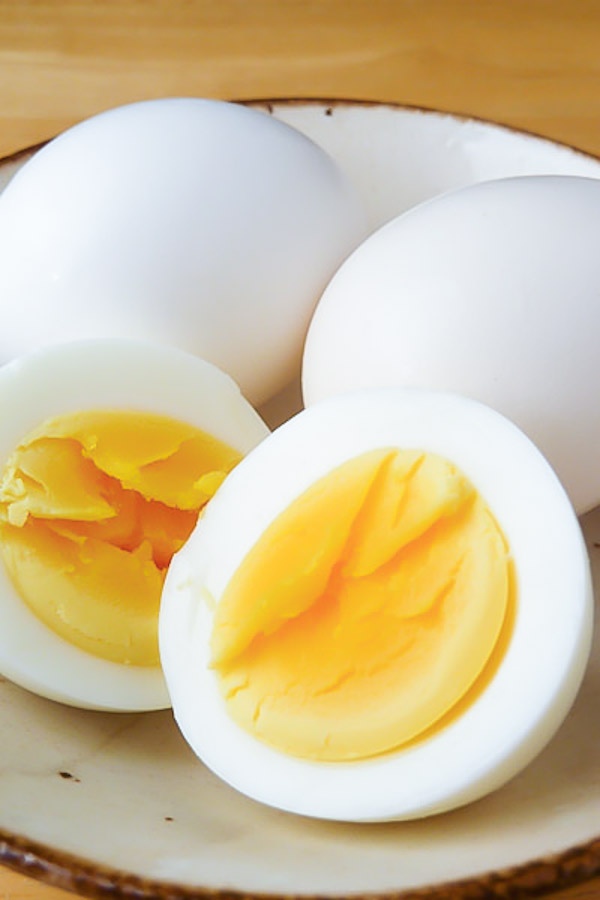
The problem when it comes to boiling eggs of course is that you can easily over-cook them, which leads to an unappetizing gray-green colour that surrounds the yolk when you go to cut into it. That green stuff forms because the iron from the yolk reacts with the hydrogen sulfide in the egg white. The discoloured egg yolk is harmless to eat, but lets admit it, not at all appetizing. This used to happen to me quite often until my brother Matt taught me the proper fool-proof way to hard boil an egg. The other problem I used to have was when I went to peel them the shell would stick to the egg white. 

Now my boiled eggs come out perfect everytime.

cooking eggs

A little trick I learned from Jamie Oliver for preventing your eggs from cracking while cooking is adding just a small pinch of salt to the pot of water. The eggs don't absorb the salt so don't be concerned about any unnecessary sodium.

What You'll Need

  • Eggs (1-12 however many you need)
  • A small saucepan
  • Salt (optional)
  • Ice cubes
  1. Place your eggs in the saucepan and fill with enough cold water to just cover them. Add a small pinch of salt if using.
  2. Bring the water to just a boil and then quickly lower the heat of the burner so the water is at a gentle boil. Let the eggs simmer for 5 minutes. 
  3. Remove the from the heat, cover the pot,  and let the eggs sit in the water for another 5 minutes.
  4. Discard the hot water from the pot, re-fill the with fresh cold tap water, and add a handful of ice cubes. Let the eggs sit in the ice bath for at least 4 minutes before removing them.

You can either peel them immediately or store them in the fridge up to 5 days for fast convenience.