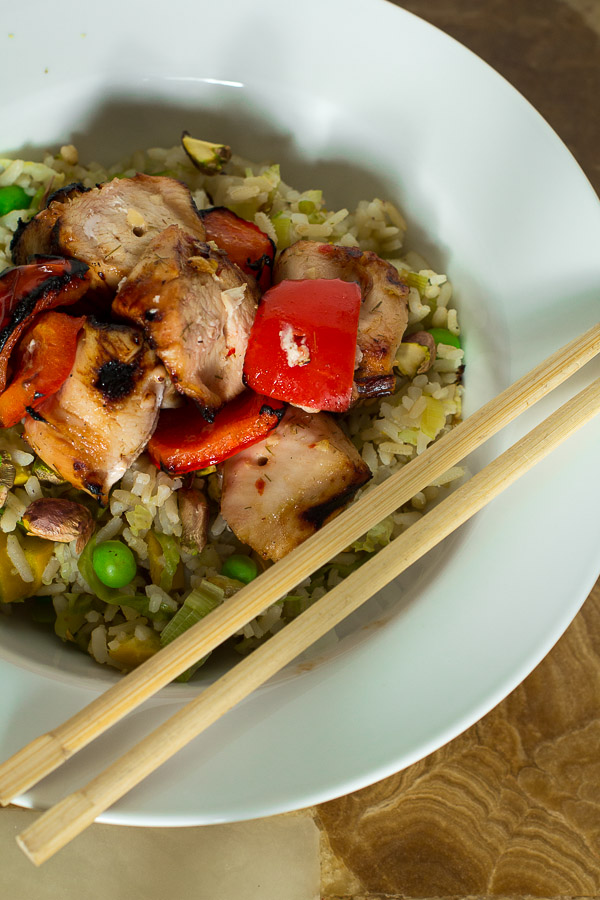
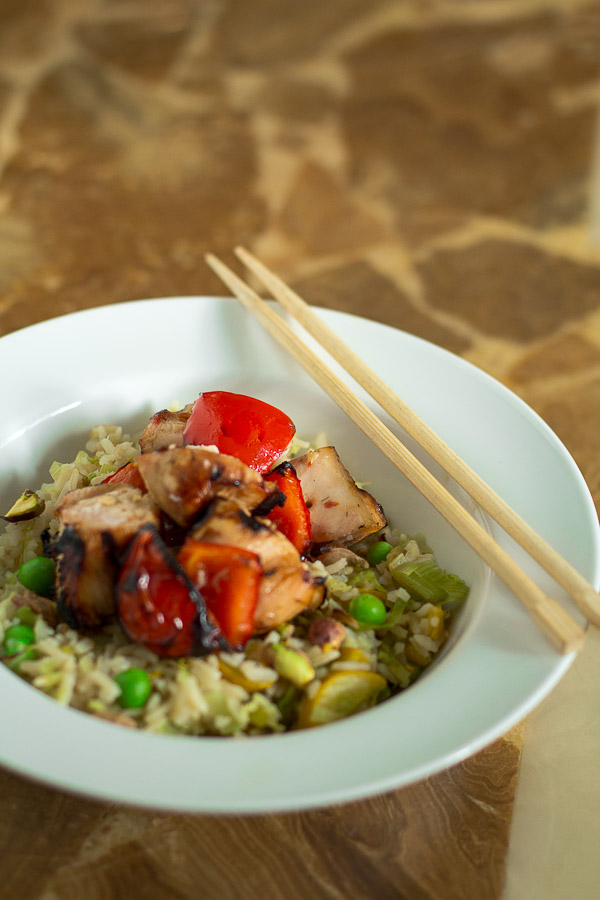
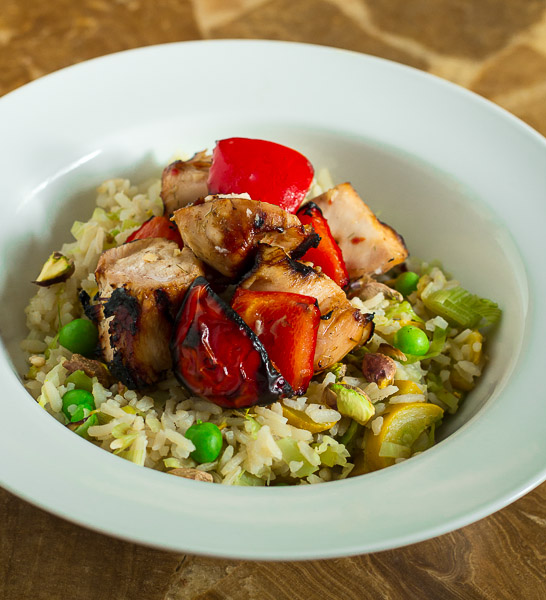
Thai-Style Chicken Rice Bowl
/Say hello to your not-so-stereotypical healthy Thursday night dinner.
I suppose it doesn't have to Thursday but seeing as it is...Here is something that's way more exciting than the same old chicken and rice with vegetables for dinner.
This is chicken dish that I would make any day of the week. It's full of flavour, healthy clean ingredients, and comes together in a flash. I would even serve this to company it's that tasty.
If you want to speed up the process even more you have the chicken marinating the night before. Then all you have to do when you get home is cook. Really, it's the marinade that takes this dish over the top for me. The lime juice, lemongrass and chili paste are the real stars. And while white wine vinegar may seem a bit unconventional for Thai cooking, the combination with the lime juice makes the chicken nice and tender.
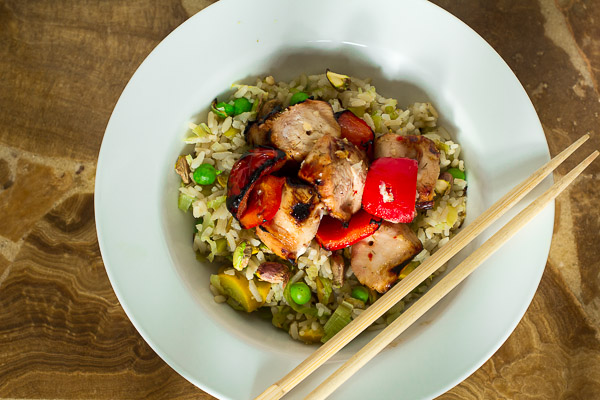
Thai-Style Chicken Rice Bowl serves 3
ingredients:
- 1 pound skinless, boneless chicken breast, cubed
- 1 red bell pepper, cut into large chunks
- 1 cup uncooked rice
- 6 large brussels sprouts, chopped
- 3/4 cup chopped leeks (white and light green parts only)
- pinch of salt and pepper
- 1/4 cup shelled pod peas
- 3 tbsp nuts (pistachios, cashews, or hazelnuts)
for the marinade:
- 1/4 cup white wine vinegar
- 2 tbsp honey
- 2 tbsp fresh lime juice
- 1 tbsp extra-virgin olive oil
- 1 tsp chili paste (such as sambal oelek)
- 1 tsp minced garlic
- 1/4 tsp dried lemongrass
directions:
- Combine white wine vinegar, honey, lime juice, olive oil, chili paste, garlic, and lemongrass in a large bowl. Add chicken; cover with saran wrap and marinate in refrigerator for at least 30 minutes.
- Toss together zucchini, sprouts, and leeks with a pinch of salt + pepper and drizzle with olive oil. Wrap in foil and place on top shelf of pre-heated barbecue for 8-10 minutes. Be careful not to burn the veggies.
- Prepare rice according to directions.
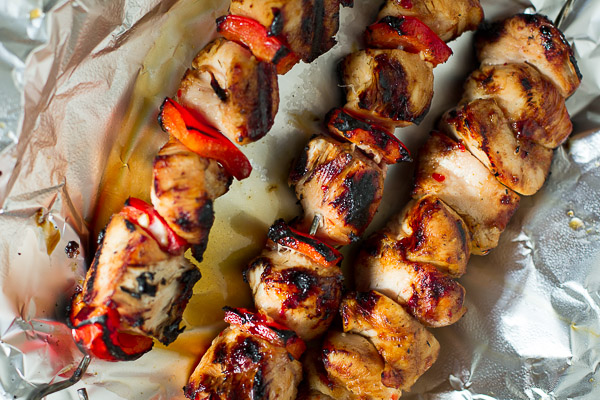
- Remove chicken from bowl. If using wooden skewers, prepare them by soaking in water for 10 minutes. If using metal skewers, no prep is necessary. Alternate threading red pepper and chicken cubes onto each skewer until you reach the end. Brush well with marinade.
- Grill chicken, turning often so each side browns and has light grill marks, until cooked through, about 10-15 minutes or until chicken juices run clear.
- Mix cooked rice with grilled vegetables + peas.
- Plate rice, sprinkle with nuts and top with chicken skewers.
 Boring weeknight meal averted!