Great Grains: Millet
/I'm excited to share that this post is the first to be featured in a series: Gluten Free Whole Grains! I'm really looking forward to expanding on this series that I've coined Great Grains. Every so often I'll post about a new grain and include information on how to cook it, nutritional stats + benefits, uses etc. Then my plan is to follow up with some recipe posts for each grain.
Nothing is really set in stone yet. It will most likely be a gradual thing that I will add to here and there and in between other posts. I have so many ideas rolling around though. This will be really fun.
I hope to make this new series informative and helpful to those who are interested in making some healthy changes to their diet and are maybe confused or unfamiliar with some of these super food ancient grains. It's also for the gluten intolerant of course because these are all wheat free grains that I will be profiling. Hopefully I can introduce you to some new a wonderful grains that are certainly included in my pantry staples.
In no particular order, here are the grains that I plan to tackle in the posts to come:
- Millet (today of course)
- Amaranth
- Buckwheat
- Quinoa
- Teff
Just to be clear I am not a doctor or registered dietician.
Now let's get cookin'!
Millet Notes
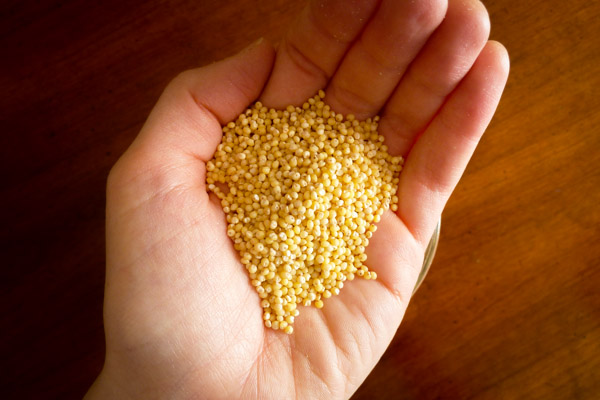
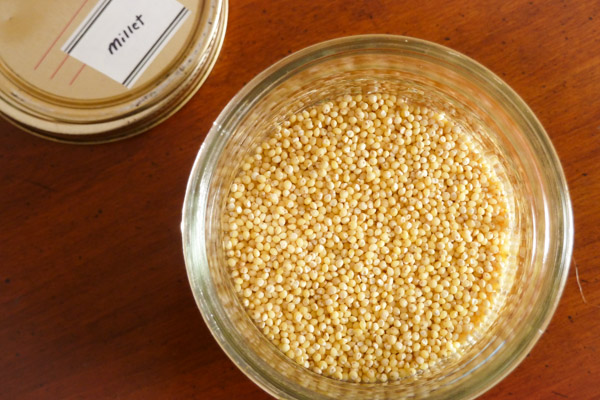
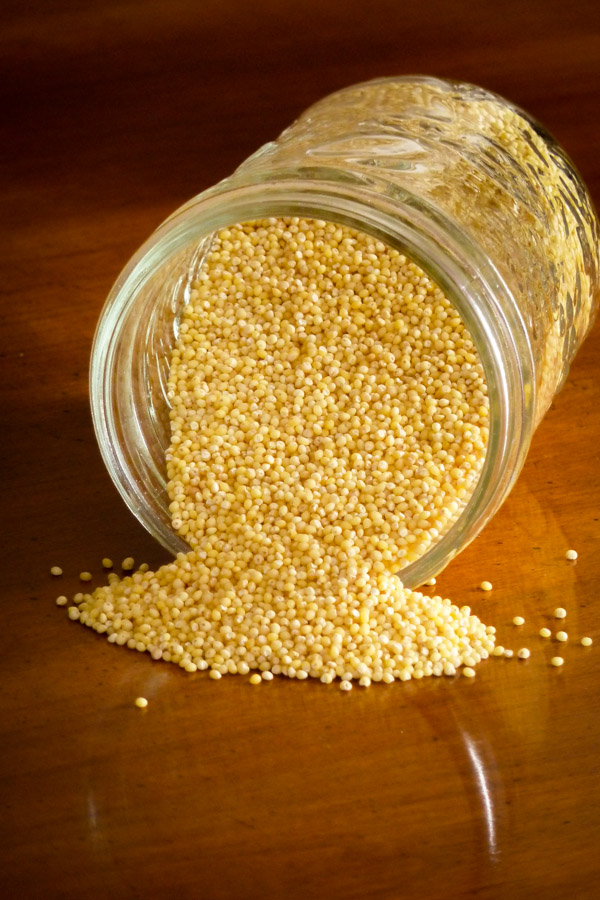
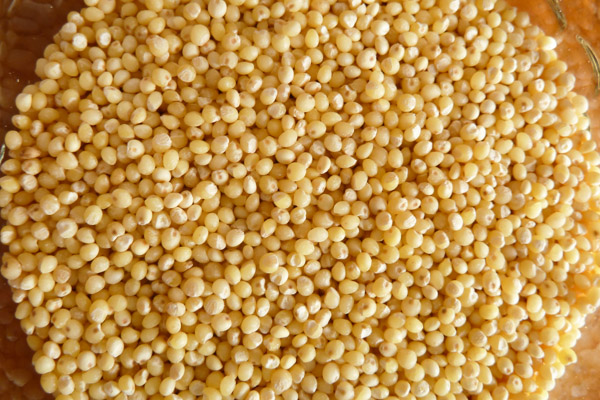
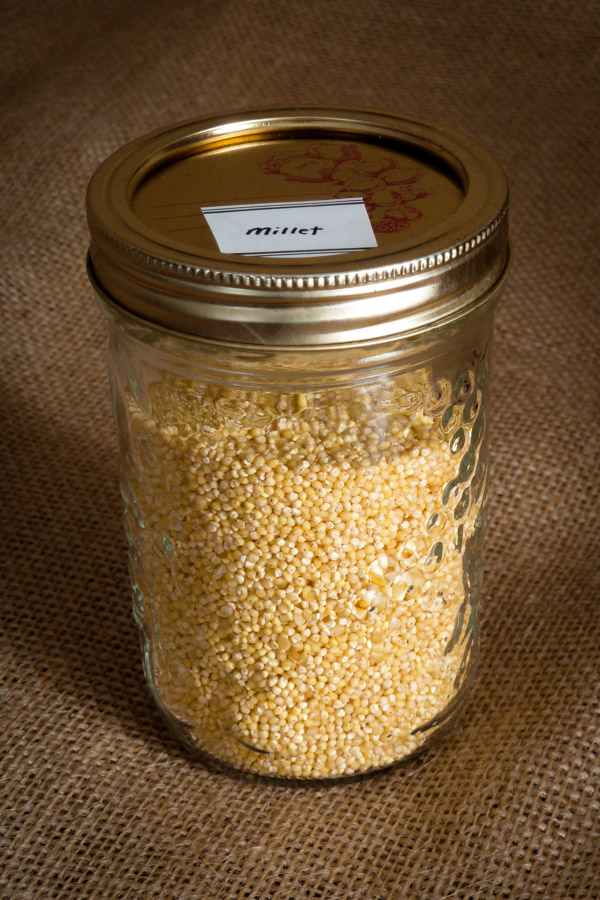
Millet is a gluten free grain-like seed that is tiny, round, and pearled shaped. It is usually the colour of ivory but can also be red. Funny enough it's used quite commonly as a main ingredient in bird seed and is one of the first grains/seeds to be cultivated. It was the main grain in China before rice. It's texture and consistency vaires on the way it is cooked; it can be fluffy like rice or creamy like porridge. It is a very good source of nutrients including manganese, phosphorus, and magnesium. Millet also stores very well and can have a shelflife of up to one year when stored in an airtight container in a cool dry place.
Nutrition Facts
One of the main reasons I love millet so much is for it's alkaline pH content, which makes it easy to digest and one the least allergenic foods. It is the only "grain" that retains it's alkaline properties after cooking. I'm not going to pretend I know everything about it, but in crude basic terms a pH level is the measure of how acidic or alkaline our bodies are. In theory, if we eat certain alkaline-forming foods like fresh vegetables, fruits and nuts, we can help maintain the body's ideal pH balance which improves or maintains our health. Check this site for more info on alkaline foods.
Here's the nutritional profile for 1 cup of cooked millet (1/4 dry):
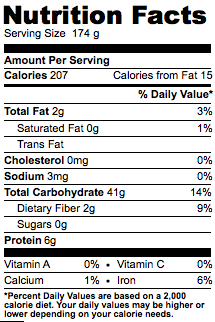
Millet is also rich in B vitamins (including niacin, which can help lower bad cholesterol), potassium, iron, zinc, and copper. It's very low in saturated fat, cholesterol, and sodium. It may not be a complete protein containing all the essential amino acids, but it is still considered to be a good source.
Where To Buy Millet
You can find millet at your local health food store, bulk food store (like the bulk barn for those of us in Canada), or even the health food section of your grocery store. Whole foods is another great place where you can find it. You can also buy it online. Here is a link to buy Bob's Red Mill Millet.
Preparing & Cooking
Before cooking your millet you'll want to measure out the amount you will be using (1/4 dry will yield 1 cup cooked) and rinse it thoroughly under cold running water for 20 seconds or so until the water runs clear. You'll want to do this in a fine mesh sieve/strainer to hold the the grains. If you don't rinse the grain first it may have a bitter taste when cooked.
The ratio for cooking is 1 part millet to 2 parts water or broth. To cook 1 cup of raw millet just pop it in a heay bottomed saucepan or pot with tall sides, add 2 cups of water or chicken/veggie broth and bring to a boil. Stir, reduce the heat to simmer and cover with a lid. Let it cook for 20 minutes then take it off the heat and, much like rice, let it sit for 5 minutes and serve! This will give you a fool proof fluffy millet.
Uses
- Millet can be ground into flour and used in various baking recipes such as breads, muffins, biscotti and scones.
- It's a great alternative to rice or potatoes.
- Adds body to soups.
- Can be used as a replacement for regular oats and enjoyed and a breakfast porridge. Just cook in water and top with berries, banana, nut butters, granola, maple syrup or any nuts.
- It's even delicious on cold salads and in stir frys.
Well that's about it for Millet, I hope you enjoyed it and I'll be back soon with a recipe.
Until then here's a few awesome recipe's to get you going:
Stir Fried Millet from Cookie + Kate
Cinnamon Roll Porridge from The Healthful Persuit
Pumpkin Pie Millet Porridge from Naturally Ella
Blueberry Crumble Crisp from Gluten Free Goddess
Millet Salad with Sun-dried Tomatoes, Kale, and Beans from The Edible Perspective
Creamy Millet Pudding from Pickles & Honey
Enjoy!

