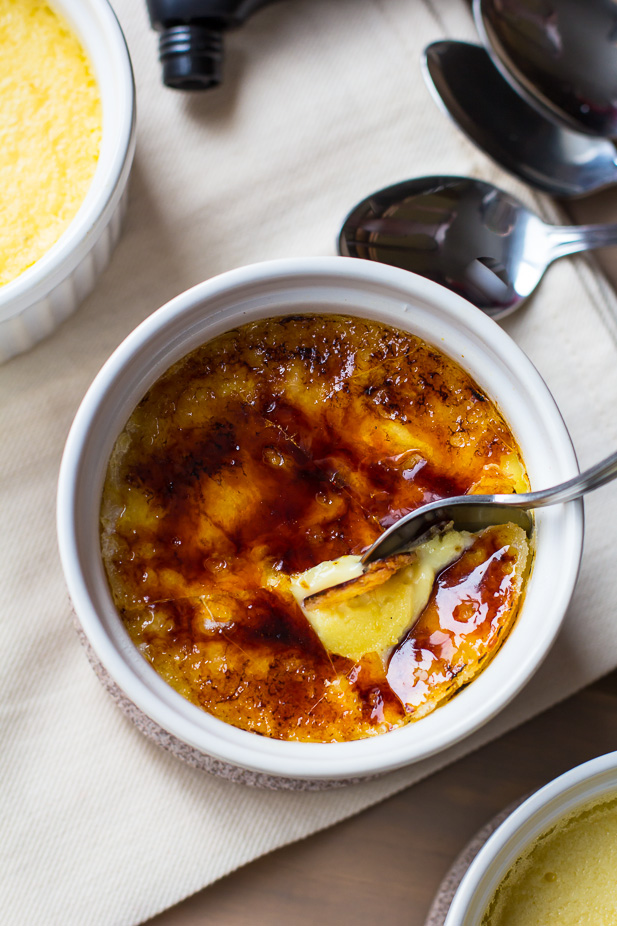
Crème Brûlée with Caramelized Peaches
/
I've been working hard behind the scenes on a super sweet Valentine's Day baking project and I am beyond excited to finally share it with you!
A few months back I was asked if I would develop and photograph a few recipes for the California Cling Peach Board using canned California cling peaches. Of course I was up for the task! My first post was this Kale and Peach Salad that turned out to be a big hit. For my second post I knew I wanted to bust out something special to line your dessert table with. Then it came to me. Crème brûlée! With caramelized peaches on the bottom!
This Crème Brûlée with Caramelized Peaches is pretty much all of my favourite dessert flavours + textures packed into a single serve treat.
This post is sponsored by the California Cling Peach Board.
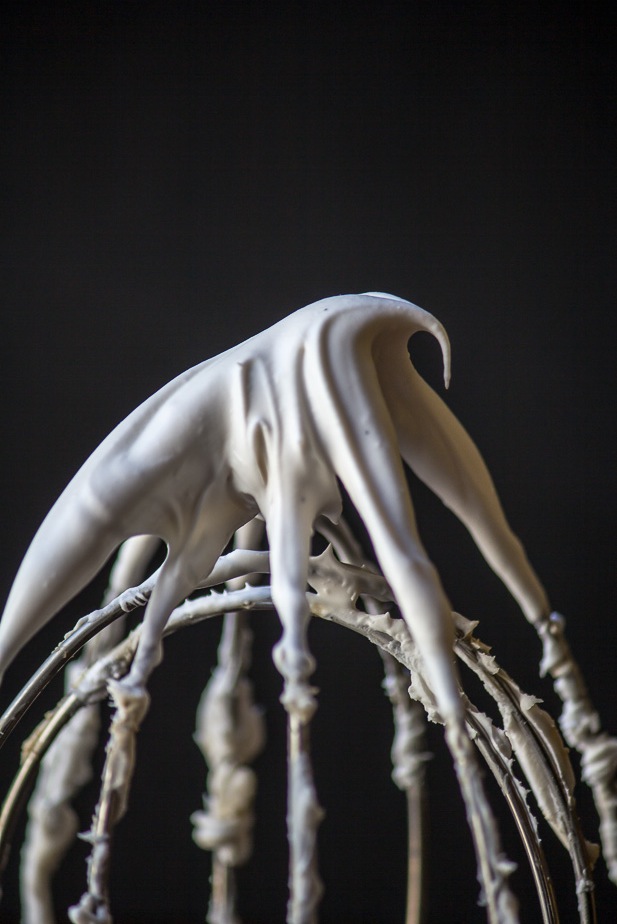
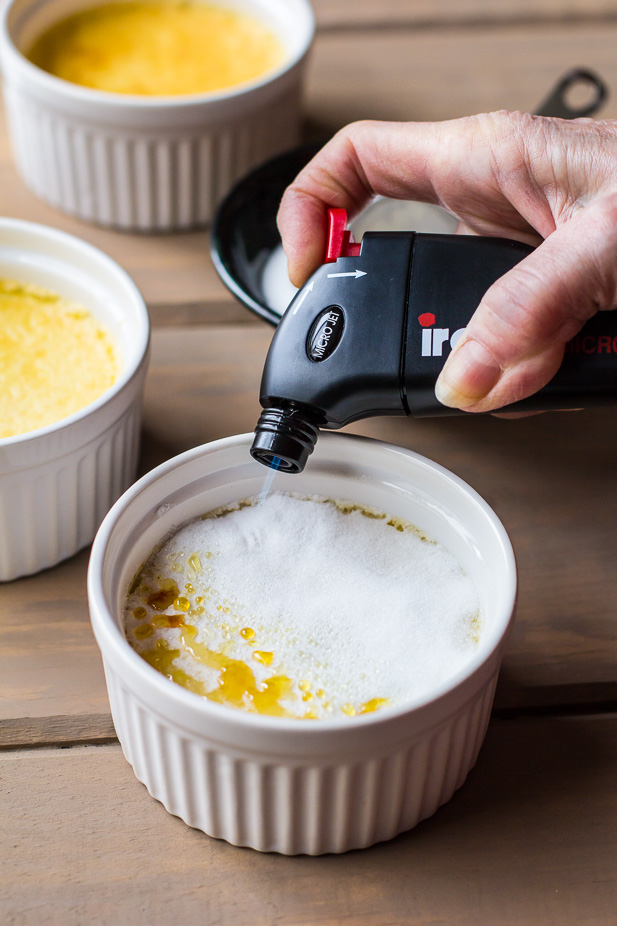
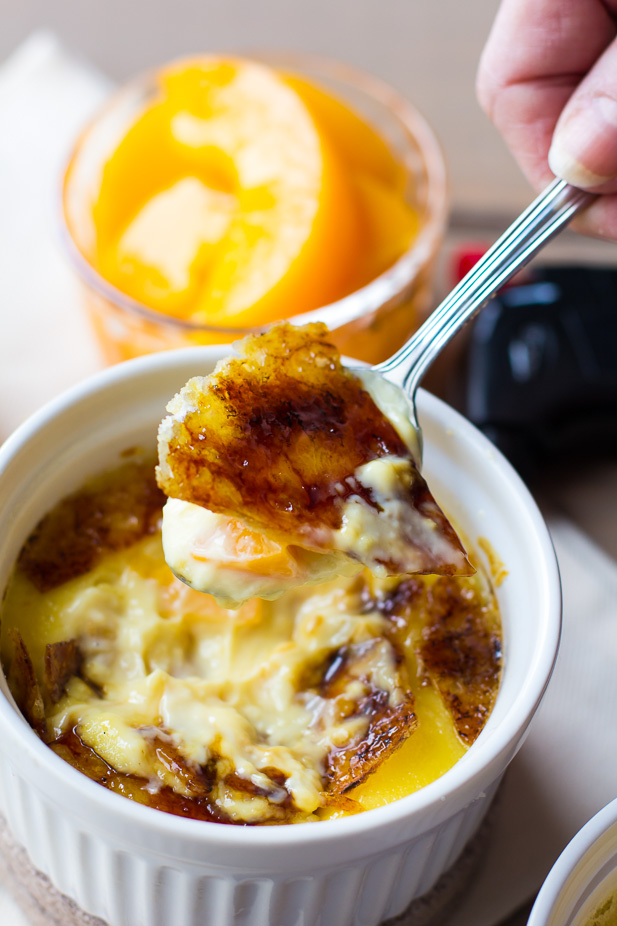
The first thing you should know about crème brûlée is that it's not hard to make. It's true. As intimidating as all those accented letters may seem and although it has a fancy restaurant reputation, it really is pretty simple when you break it down. It's also a lot of fun! The only one catch is that you'll want to get yourself a small kitchen blowtorch for making that crisp crackly layer of caramel brittle that makes creme brulee so memorable. Don't worry they are reasonably priced. It's very difficult to brown the sugar underneath the oven broiler - though some are able to pull it off, I've never been able to do it without messing up the custard.
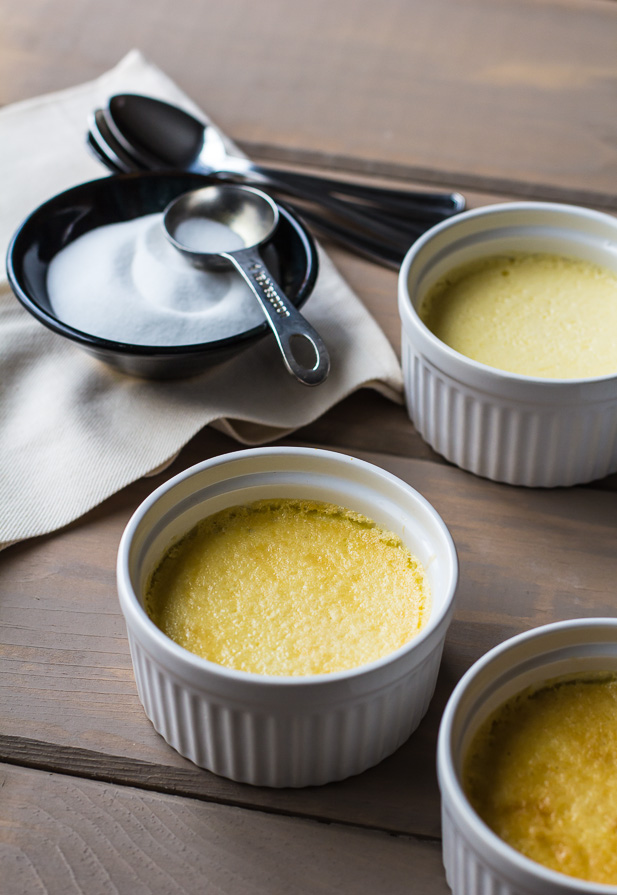
One of the greatest things about this impressive dessert is that you can make the custards - minus the burnt-sugar topping - a couple of days in advance. Of course, you can eat them on the day you make them too; just be sure to chill the custards for at least 3 hours before topping them with sugar.
Oh, it is difficult to wait.
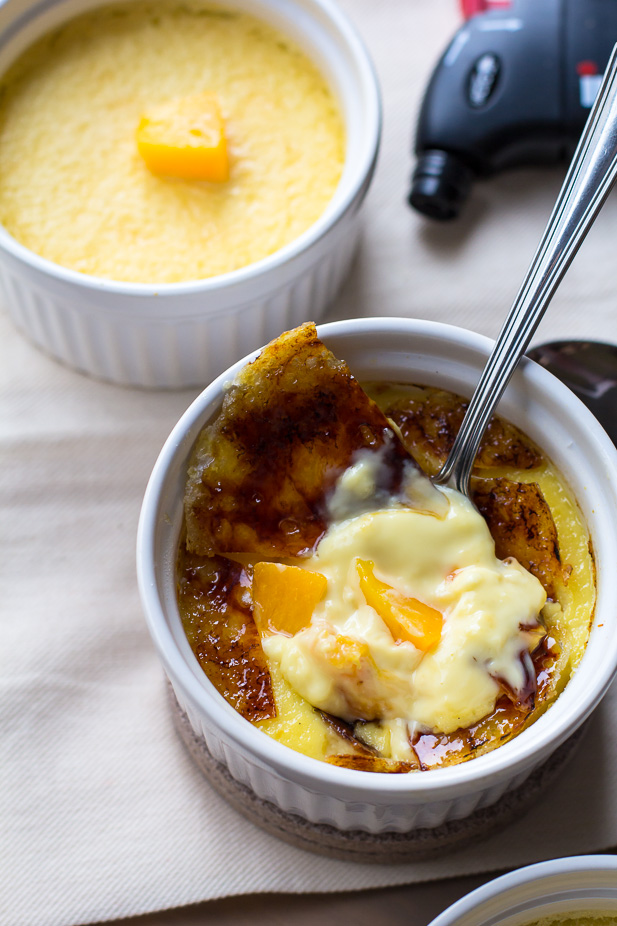
This is the first time I've tried a peach style crème brûlée. I have to admit a well-made vanilla bean crème brûlée is pretty hard to beat, but the subtlety of the caramelized peaches on the bottom was just enough without being overwhelming.
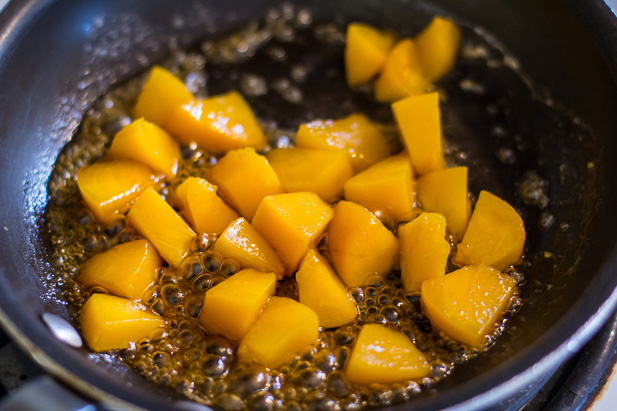
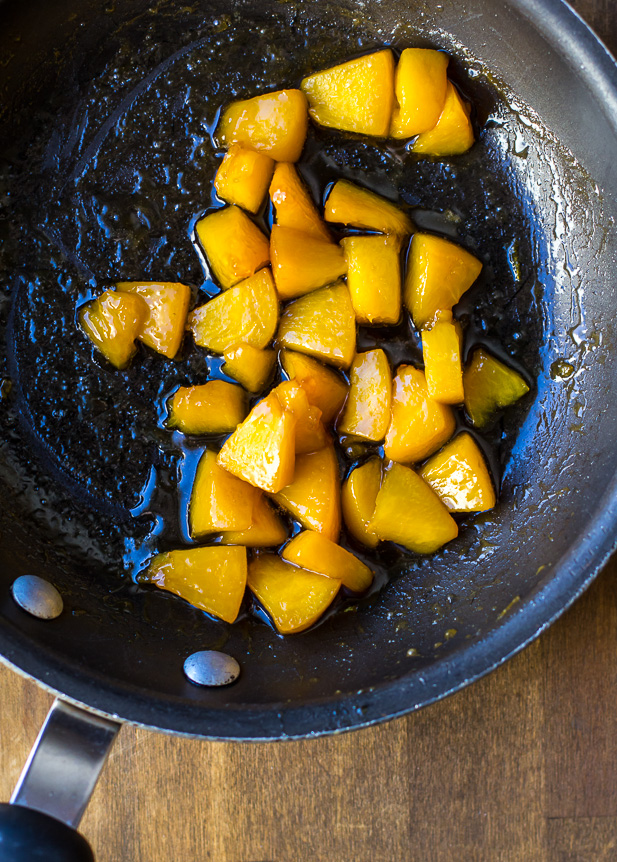
For the caramelized peaches I used canned California cling peaches. I've always thought canned peaches were a cheery reminder of warm summer days in the mid-winter months. They're hard to pass up, especially this time of year when fresh and local just isn't an option. So I like to always have a few cans in the cupboard, on hand for whenever. Surprisingly, the canning process of the peaches has been proven to increase key nutrients like Vitamin A, Vitamin C and folate. Plus there are no added preservatives or colours, and they’re delicious!
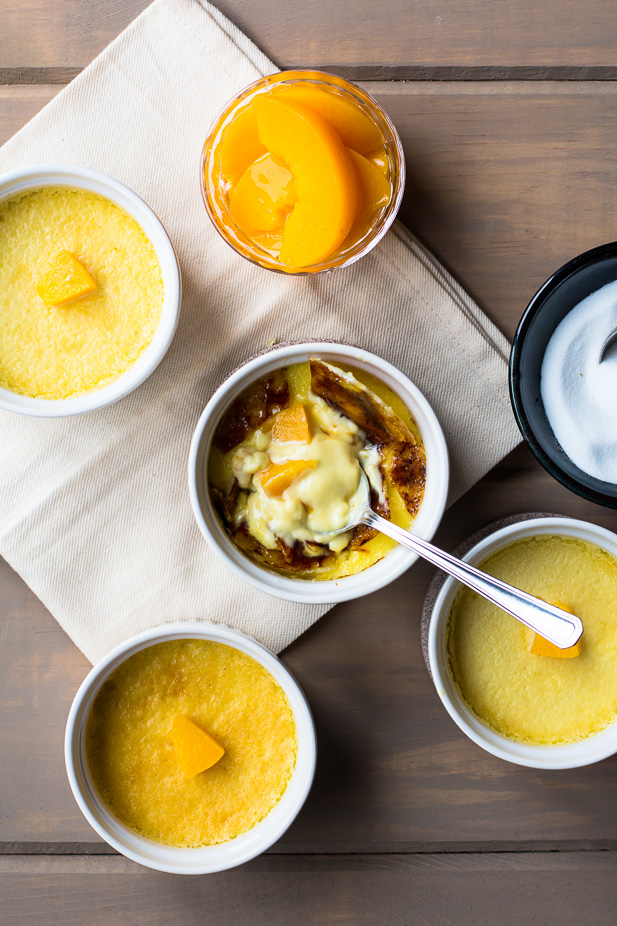
Do I have to tell you how good that topping was?
I'm thinking it's pretty self-explanatory.
Have a happy weekend friends!
Brûlée me.
Crème Brûlée with Caramelized Peaches
(Serves 4) Print This Recipe
Ingredients
For the caramelized peaches:
1 cup canned California cling peaches in fruit juice, drained and chopped
½ tablespoon butter
1 tablespoon packed brown sugar
For the crème brûlée:
2 cups (480 ml) heavy 'whipping' cream (35% butterfat content)
1 vanilla bean, split and seeds removed (or 2 1/4 teaspoons pure vanilla extract)
6 large egg yolks, room temperature
1/4 cup + 2 tablespoons (75 g) granulated white sugar
4 tablespoons (50 g) superfine white sugar
Directions
For the peaches:
In a heavy medium skillet, melt the butter over medium heat. Add the peaches, sprinkle with the sugar and stir until it dissolves. Cook, stirring occasionally, until the peaches are tender and the juices are slightly reduced, about 5 to 7 minutes. Remove from heat.
For the crème brûlée:
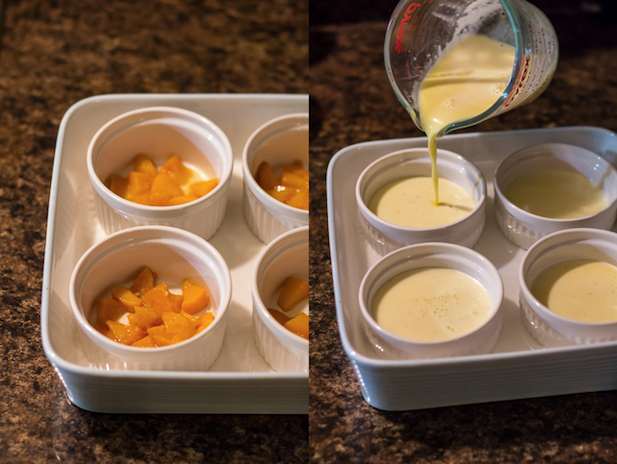
Preheat your oven to 300˚ F and position a rack in the centre of the oven. Place 4, 8-ounce (240 ml) ramekins in a roasting pan where the sides of the pan are higher than the ramekins. Spoon the caramelized peaches into the ramekins (about 1/4 cup into each).
Heat the cream on medium-high heat with the scraped seeds of the vanilla bean along with the pod for about 5 minutes. Watch carefully so that it doesn't boil over. The cream will begin to bubble around the edges when it is ready. Remove from heat and remove the vanilla bean pod.
Meanwhile, in a separate bowl or stand mixer fitted with the whisk attachment, beat the egg yolks and 1/4 cup + 2 tablespoons of sugar until pale and thick (about 1-2 minutes). Slowly pour the scalding cream a little bit at a time into the egg yolk mixture, whisking constantly so the eggs don't scramble. Strain with a fine mesh sieve set over a large measuring cup or bowl (I like to strain it into a glass Pyrex measuring cup with a spout). Evenly pour the custard into the prepared ramekins.
Pour boiling water carefully around the ramekins, so that the water comes halfway up the sides of the dishes. Bake the custards for about 35-45 minutes, until they are set around the edges, but still have a little jiggle to them when gently moved. Carefully remove the custards from the water bath and set them on a wire rack to cool for about 1 hour. Refrigerate for at least 3 hours or until cold and firmed up. At this point they can be stored in the fridge for up to two days until you are ready to serve them.
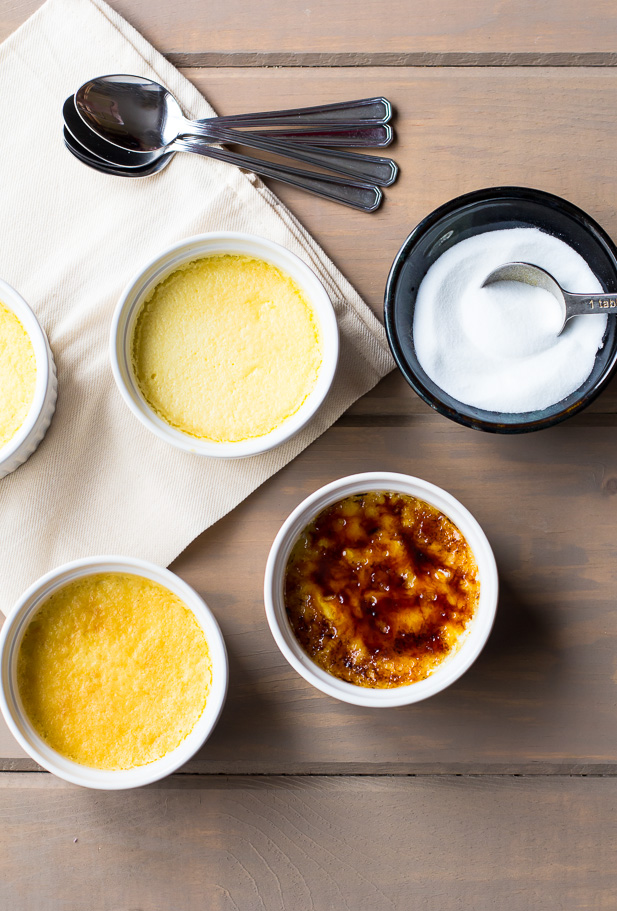
To serve, sprinkle each custard with a thin, even layer of superfine sugar (about 1 tablespoon). Using a hand held kitchen blowtorch, caramelize the sugar by moving the torch back and forth over the custard, about 1-2 inches away from it at an angle, until the sugar is golden brown and hardened. Serve immediately.
Today's post is sponsored by the California Cling Peach Board. Product opinions are always my own. If I didn't love it, you wouldn't be hearing about it. Thank you for supporting the occasional sponsored post that helps fund all the deliciousness I share here.