Gluten-Free Carrot Cake with Cream Cheese Frosting
/Wow I feel like I haven't posted anything in a really long time. I had a few posts planned but despite all of my good intentions it just wasn't meant to be. Oy! But that's ok, because today I baked you a cake!
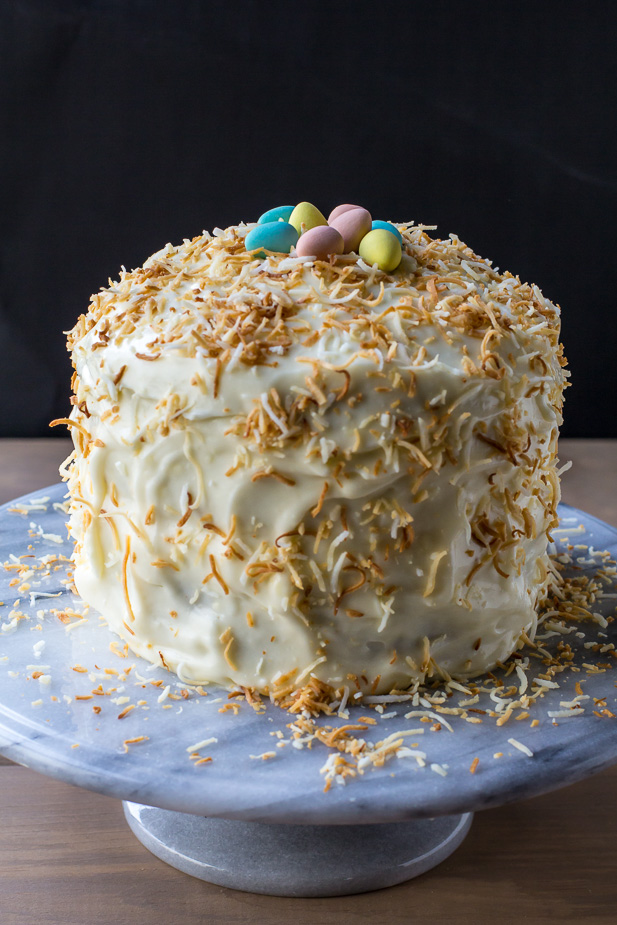
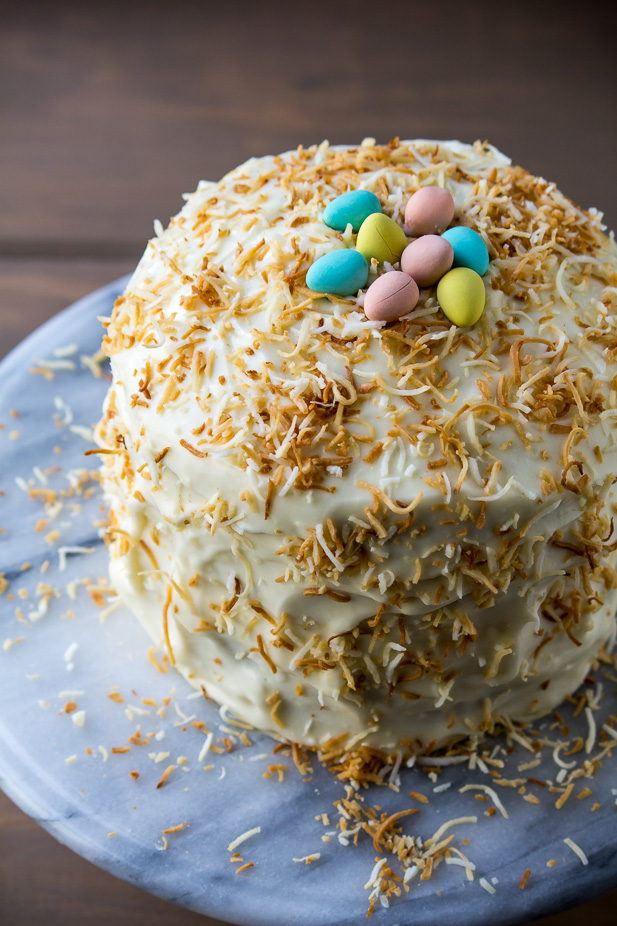
And not just any cake. A mighty fine looking Gluten-Free Carrot Cake.
Just in the nick of time for Easter.
Now before I jump right into this post, I think it's been a while since we last chatted. So hang on for just a quick few with me.
First of all, I'd like to give a big thank you to all of your incredibly kind and sweet comments on my recipes and photography. It means so much to me! I'm thrilled you're digging the recipes. I'm hoping to do a bit of site redesign soon but that's still a little ways off, so I'll keep you posted.
Back in January I was contacted again by Low Sugar Living magazine to be featured in their Spring issue. Seeing my photography+recipes in a printed magazine never gets old!
I hope to do more freelance work as the blog continues to grow. It would be incredible if I could turn this into something with a real income, but I'm still trying very much to make it all work. And of course my first passion is to find my dream career in audio+film+music.
Okay, now let's eat cake!
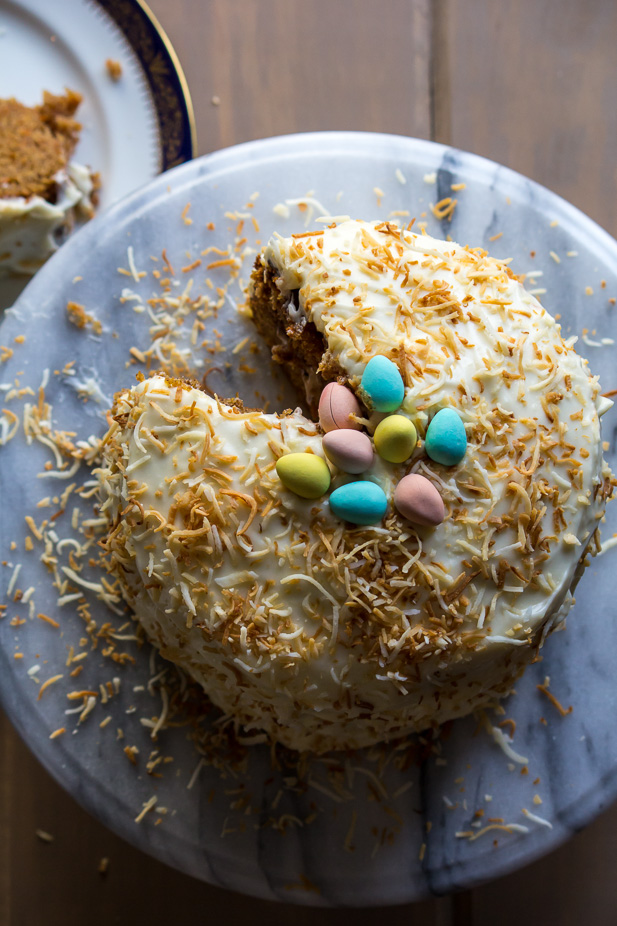
I must say this is quite possibly one of the best recipes I have created for the blog. I know that is saying a lot but I think it just might be true. It's definitely in the top 5 anyway. And it doesn't matter if you're gluten-free or not. You are going to love this cake!
It's not entirely clean, but hey it is cake and it is important to allow yourself some treats every now and then. If you would like to make this a bit healthier I would definitely recommend using this Maple Cashew Cream Frosting I posted a few weeks ago. This frosting is also a great option if you can't tolerate dairy. But for the rest of us this cake is totally going to get covered in browned butter cream cheese frosting.
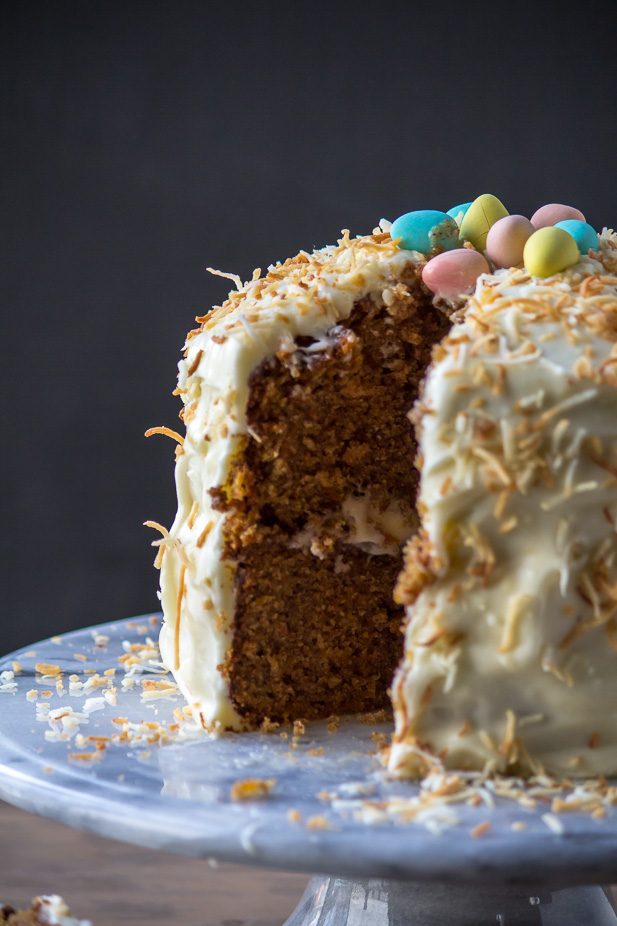
The texture of this cake is so moist and dense, which I think you can probably tell by the photos. The anticipation to eat this was killing me!
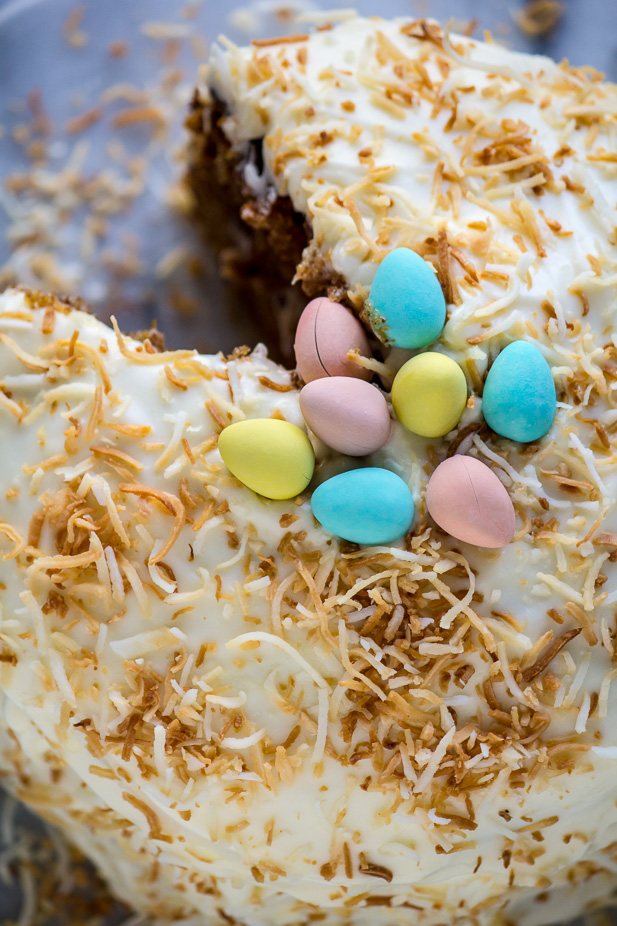

Gluten-Free Carrot Cake with Cream Cheese Frosting
Prep Time: about 1 hour
Cook Time: 40-45 minutes
(Serves 8-12)
Ingredients:
For the Cake
- 2 1/2 cups raw carrots, finely grated (about 1 pound)
- 2 cups gluten-free all-purpose flour blend (such as Bob's Red Mill GF All-Purpose Baking Flour)
- 1 teaspoon baking soda
- 1 1/2 teaspoons baking powder
- 1/2 teaspoon salt
- 2 teaspoons ground cinnamon
- 1/2 teaspoon ground nutmeg
- 3 large eggs, room temperature
- 1 1/2 cups packed brown sugar, sucanat, coconut sugar or pure cane sugar
- 1 cup sunflower oil (or coconut oil)
- 2 teaspoons pure vanilla extract
- Optional toppings: toasted coconut, walnuts or pepitas
For the Frosting
- 1 sticks (1/2 cup) unsalted butter
- 8 oz light cream cheese, room temperature
- 1 1/4 - 2 cups powdered sugar
- 1/2 teaspoon vanilla
Instructions
For the Cake
Adjust oven rack to middle position and preheat oven to 350˚F. Grease and flour two 6 inch round cake pans and line the bottoms of the pans with a circle of parchment paper.
Peel and finely grate the carrots, set aside.
In a large bowl, whisk together the flour, baking soda, baking powder, salt, ground cinnamon and nutmeg.
With a handheld mixer or a stand mixer, beat the eggs until frothy, about 1 minute. Add the sugar and beat until the batter is thick and throughly combined. With the mixer running, add the oil in a steady stream, then add in the vanilla and mix until well emulsified, about 45 seconds to 1 minute longer. Stir flour mixture into egg mixture until just combined. With a rubber spatula fold in the grated carrots.
Distribute batter evenly between the pans and bake 40 to 45 minutes or until a toothpick inserted in the centre comes out clean and the surface springs back when gently touched. Remove from oven and let the cakes cool in the pans for 10 minutes. Invert the cakes onto a wire rack and discard parchment paper. Cool completely before frosting.
For the Frosting
Melt the butter in a heavy bottom saucepan over medium heat. Cook, swirling the pan occasionally until the butter turns lightly golden-brown, about 4 minutes. Pour into a small bowl and let stand until the solids settle at the bottom of the bowl, about 5 minutes. Place the bowl in the freezer and chill until just firm, about 15 minutes. Using a spoon, carefully scrape the butter from bowl, leaving the browned solids at the bottom; discard the solids. Beat the cream cheese and butter together until smooth. Slowly add the powdered sugar (do this on low speed) and mix until light and fluffy. Add the vanilla.
To Assemble
Place one cake layer on a cake stand or large flat serving plate. Evenly spread a layer of the frosting over the top of the cake. Gently place second cake layer on top. Spread a thin layer of frosting over the entire cake to seal and fill in any gaps between layers. Place in refrigerator for 20 minutes to chill and firm up the frosting. Finish icing the top and sides of the cake with the remaining frosting using an offset spatula. Top with toasted coconut and nuts if desired.
Notes
The cake may need less or more baking time depending on the heat of your oven.
Refrigerate. Serve cake at room temperature or slightly chilled.
If you do make this (and you will if you know what's good for you ;) please take a photo to share and tag it with #ediblesoundbites. I'd love to see it!
Hope you all have a fabulous Easter weekend!

