Coconut Whipped Cream Photo Tutorial
/Check out my new obsession. Coconut Whipped Cream! I've know about this for a while now, but recently I started thinking to myself, "why don't I have a step-by-step recipe on my blog?" I know that whipped coconut cream isn't new to many of you. It's been around for some time, and there are a lot of great one's out there, but I wanted to tackle one of my own
If you haven't made coconut whipped cream before, then now is the time. Just think of that pumpkin pie to come on Thanksgiving. It's vegan, It's dairy free (so there are no ugly consiquence's for those who are lactose intolerant), it's gluten free, and it's to die for! Especially if you love coconut. What more could one ask for?
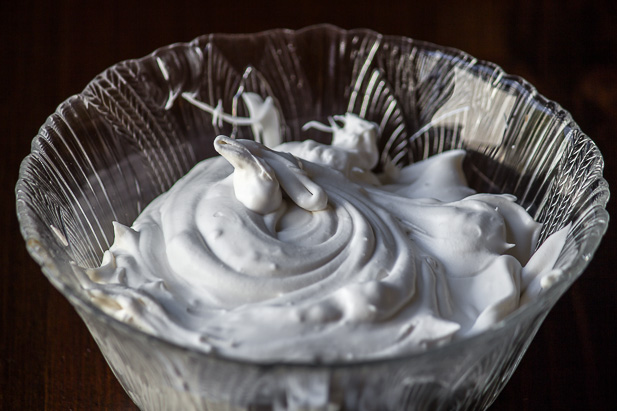
What I really love about it is that you can control how much sugar get's added to the whipped cream. I'm going to show you just how simple this is to make. So here we go.
1. Take a can of full-fat coconut milk and pop it in the refirgerator the night before making the coconut whipped cream. You must use full-fat coconut milk for the whipping process. Don't use light because the recipe won't turn out. Chilling the can of coconut milk causes the coconut cream to separate and solidify at the bottom, leaving the watery liquid at the top of the can.
2. Place your mixing bowl in the fridge for 5 to 10 minutes prior to whipping.
3. Remove the chilled can from the fridge and flip it. This way when you open the can, all the liquid will be at the top, making it easier to just pour it off to get to the coconut cream underneath.
4. Open the can and pour the coconut water into another bowl.Don't discard the water! Make sure you save it and add it to your next smoothie. It's pure gold!
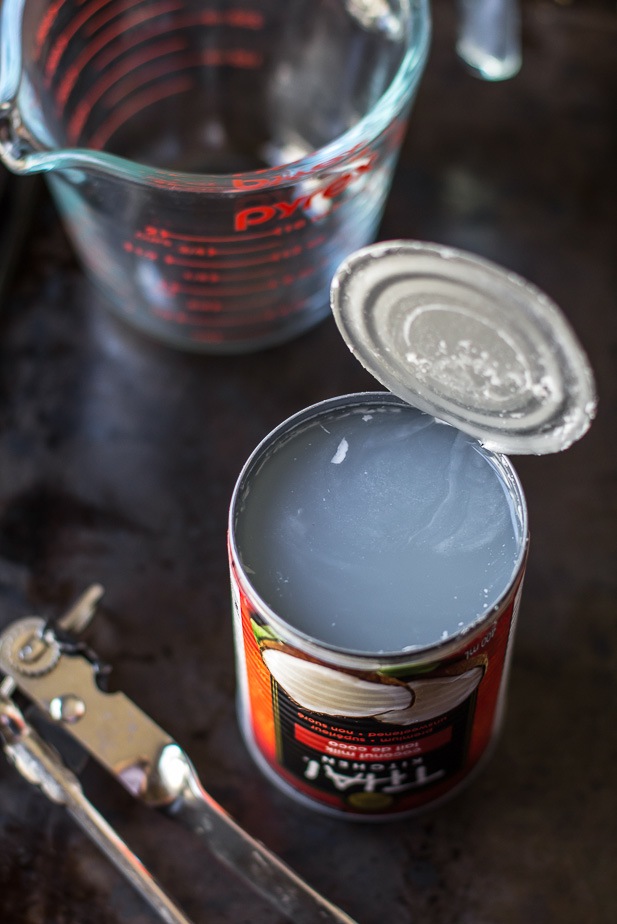
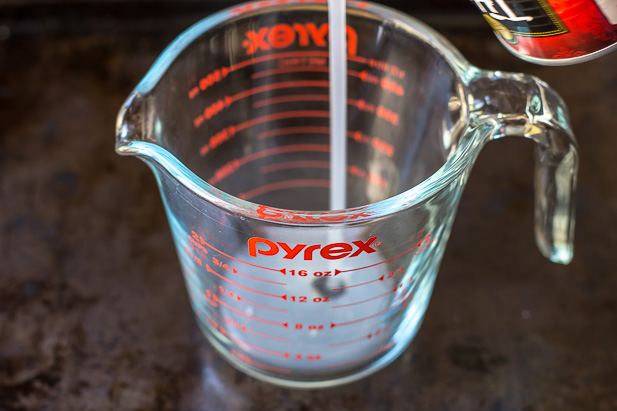
5.Scoop out the thickened coconut cream into your chilled mixing bowl. As you can see below, the coconut cream is hardened at the bottom of the flipped can.
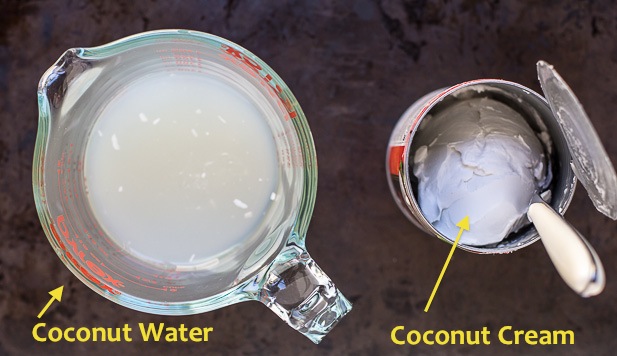
6. Whip the cream until it becomes fluffy and light. I used my stand mixer for this, but hand beaters or a whisk will also do the trick. Mix for 2-4 minutes. You will end up with small soft peaks.
7.Add vanilla and sugar, if using. At this point you can mix in 1/2 tsp - 1 tsp of vanilla extract or if you're feeling really fancy, the scraped out seeds from a vanilla bean. For sweetness you can add cane sugar, confectioner's/ powdered sugar or maple syrup; 1-3 tablespoons or to your desired taste. Beat until incorporated.
Now serve it up any way you like!!! Just in time for some fresh pumpkin pie. I also recommend trying it on fresh fruit and pancakes.

To store:
The whipped cream will last up to 1 1/2 - 2 weeks in the refrigerator if stored in a sealed airtight container. It holds very well in the fridge, but if you're not going to use it immediately, you can re-whip it until it reaches the desired texture.
Coconut Whipped Cream

by Jennifer Trennum
Prep Time: 5 minutes
Cook Time: 5 minutes
Keywords: how-to dessert dips, spreads frosting/ icing gluten-free grain-free low-carb low-sodium vegan vegetarian soy-free coconut maple syrup
6066772
Ingredients (1.5 cups)
- 1 (14 ounce) can full-fat coconut milk, refrigerated for 24 hours
- 1-3 tablespoons pure cane sugar, powdered sugar, or maple syrup (optional; add to taste)
- 1 teaspoon vanilla extract
Instructions
Place your mixing bowl and beater in the freezer for 5-10 minutes to chill.
Remove the can of coconut milk from the refrigerator and flip it over so the label is upside down. Open the can and pour the coconut water into a dish or measuring jug to save for later. Remove the mixing bowl from the freezer. Using a spoon, scoop out the thickened coconut cream into your chilled bowl.
Using the whisk attachment for your stand mixer, or hand beaters, beat the coconut cream on medium speed for 2-4 minutes, or until the cream becomes light and fluffy and small peaks form. Add in your sweetener of choice and vanilla extract, and beat until incorporated.
Serve the coconut whipped cream, or transfer to a sealed airtight container and refrigerate. If you're not going to use the whipped cream immediately and it becomes too firm for your liking, you can re-whip it when ready to use to reach the desired consistency.
Notes
The whipped cream will last up to 1 1/2 - 2 weeks in the refrigerator stored in a sealed container.
Powered by
I hope this was helpful and that everyone has a very happy Thanksgiving!!!


