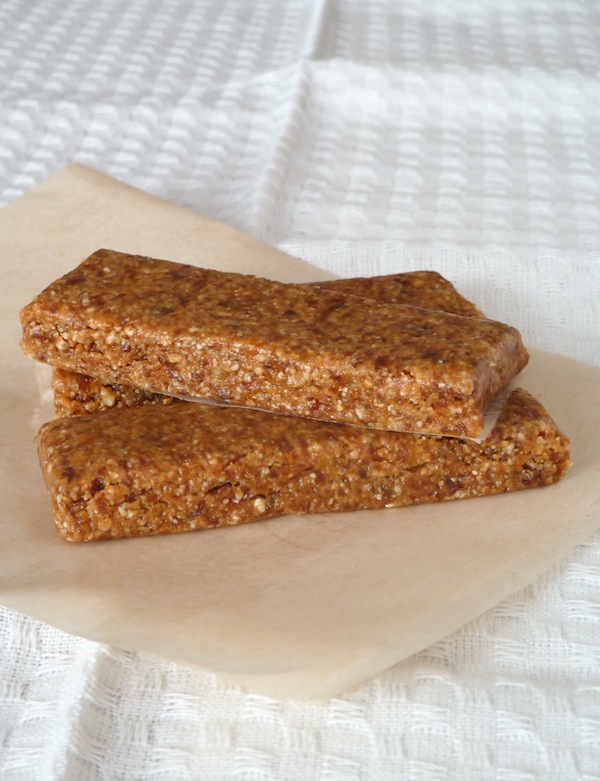
Homemade Peanut Butter Cookie Larabars

There's nothing like waking up to the sound of the bird's chirping. Even if it's dull, dark and rainy like it has been, I can always count on the sounds of spring to pick my spirits up. Let's just hope we don't have anymore unpredictable weather coming our way.
Peanut Butter Larabars

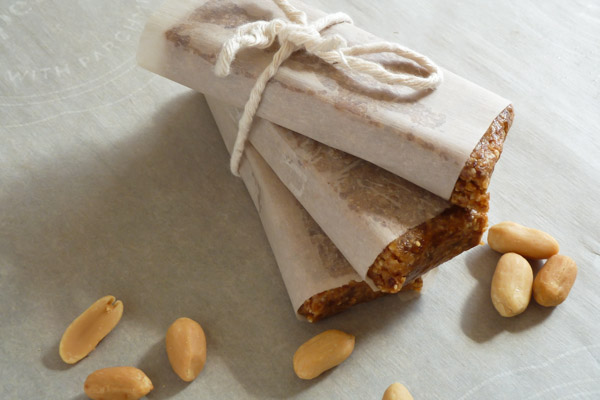
You might already know how much I love nut butter. Particularly almond and peanut. So naturally my favourite Larabar is the peanut butter cookie. I'm really into making my own, they're fun to make (I might be the only one who thinks this ;) and it's cheaper.

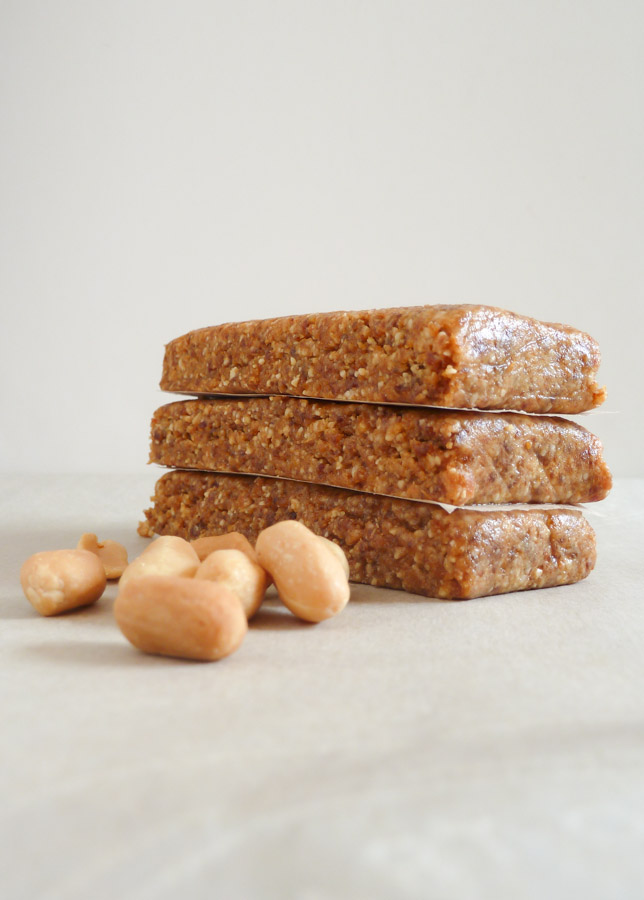
Peanut Butter Cookie Larabar recipe

Homemade peanut butter Larabars

A little trick I like to use when making my own Larabars, is to grind the nuts and dried fruit separately and then combine them along with any flavouring's like spices and sea salt. This way you get a nice smooth Larabar-esque snack bar. First you grind up the nuts until they resemble fine bread crumbs.
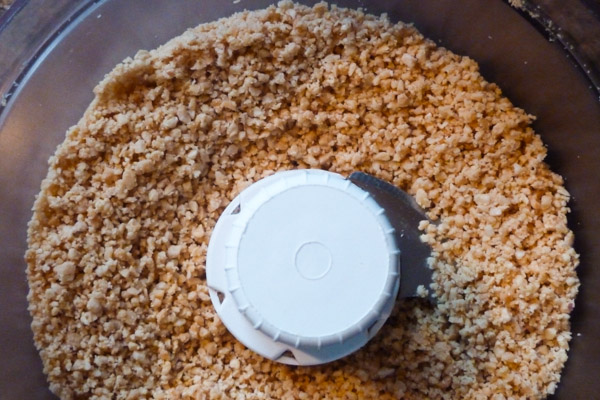
How to make Larabars at home

Then you'll want to grind the dates up on their own until you have a sticky, clumpy mess like this.
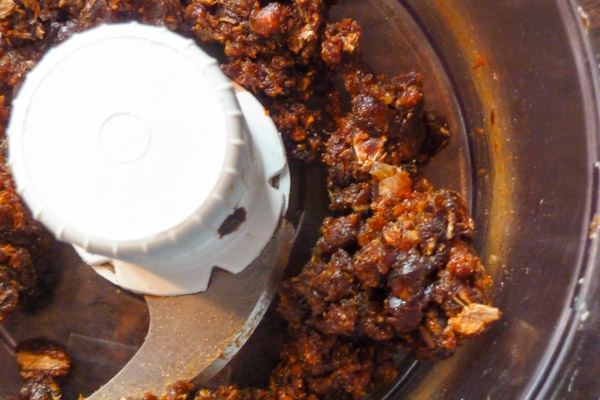
Peanut Butter Energy Bars

Now you add the ground peanuts along with a pinch of sea salt back in with the dates and grind/process until you can easily form it together with your hands.
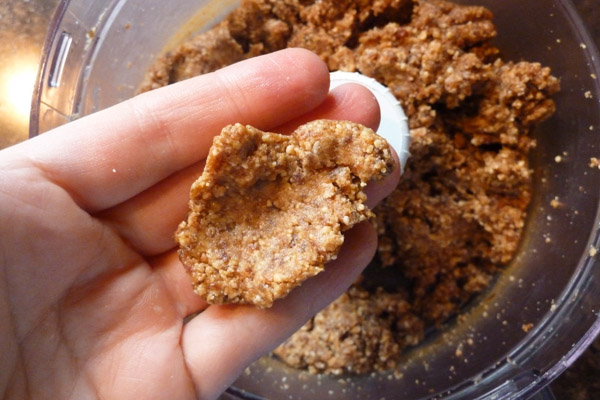
Homemade Larabars

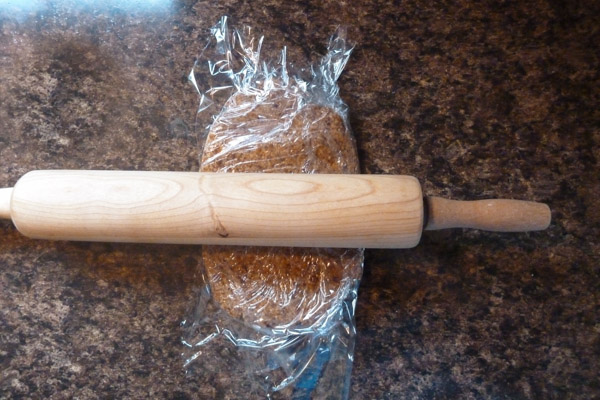
Next up, we form the dough into bars. In the past I've used my hands, but it got so messy that I'd have to keep stopping to wet my fingers and hands just to work with the dough. That was way too time consuming. So I started forming them by covering the dough in saran wrap. This way I can still use my hands to help form the dough and not get them all messy.

I place the clump of dough on a large sheet of saran wrap, cover it up, and roll it out. Brilliant!
Peanut Butter Cookie Larabar Recipe

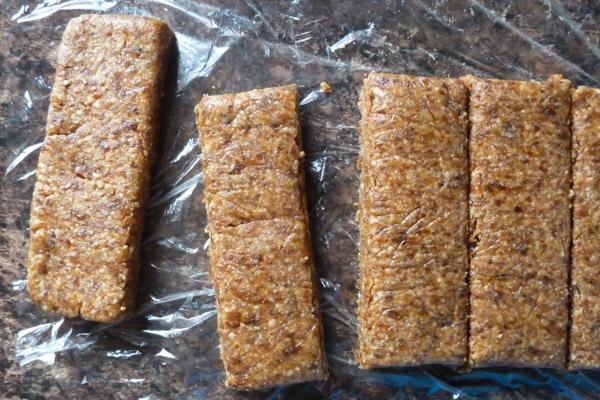
This only takes me 5 minutes to form the bars and cut them.

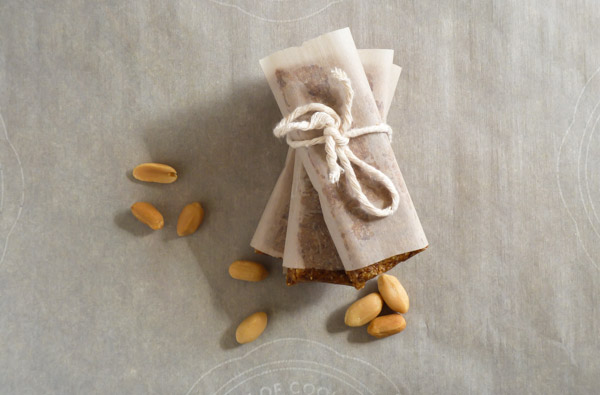
You can wrap them up individually for grab-and-go snacking and work week lunches or store them in a sealed airtight container like I do.
Homemade Larabars

Peanut Butter Cookie Larabars (makes 6, 1x3x1/2" bars) vegan & gluten free

Print or email this

Ingredients:


  • 1 cup pitted dates

  • 1 cup unsalted dry roasted peanuts

  • a pinch of sea salt (no more than 1 gram if you have a kitchen scale handy)


Directions:


  1. In a food processor fitted with a metal blade, blend the peanuts until they are finely chopped. Pour the nuts into a bowl and set aside.

  2. Add the dates to the food processor and process until they start to smooth out and form a paste. Add the chopped peanuts and sea salt and continue blending until evenly combined. It should look similar to a fresh batch of cookie dough.

  3. To form the bars, take a large sheet of saran/cling wrap and lay it flat on the counter. Pour the dough mixture out onto the cling wrap, form it into a ball using your hands, then fold the sides of the cling wrap over the dough so it is covered.

  4. Begin to flatten it out using your hands or a rolling pin, shaping the edges to form a rectangle or square about 1/2" inch thick. Then slice into bars.

  5. Wrap and refrigerate to keep them their freshest.


{Notes}


  • If your food processor is big enough feel free to double the recipe.

Peanut Butter Larabars


No oven needed here!

Chocolate Brownies

Chocolate!!!

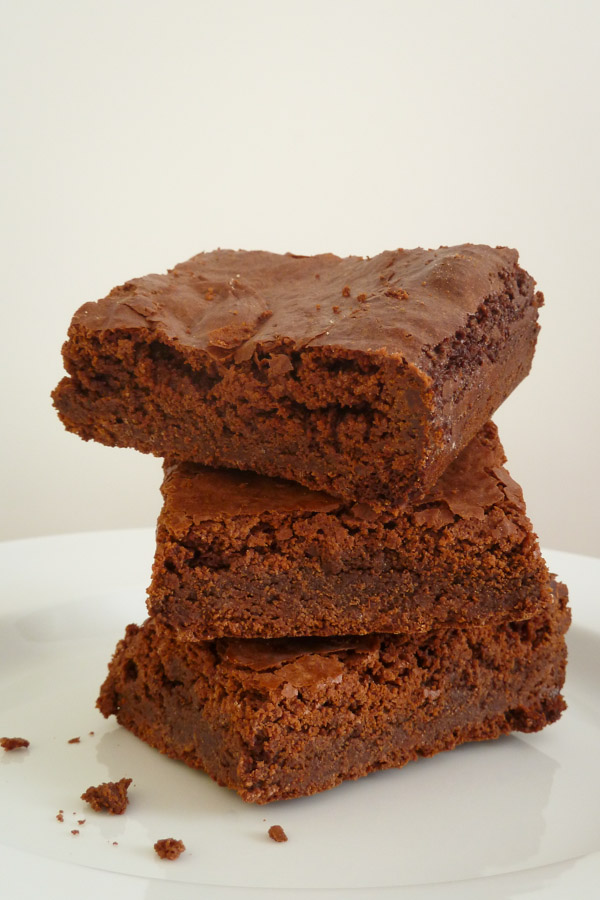
Best Ever Chocolate Brownies

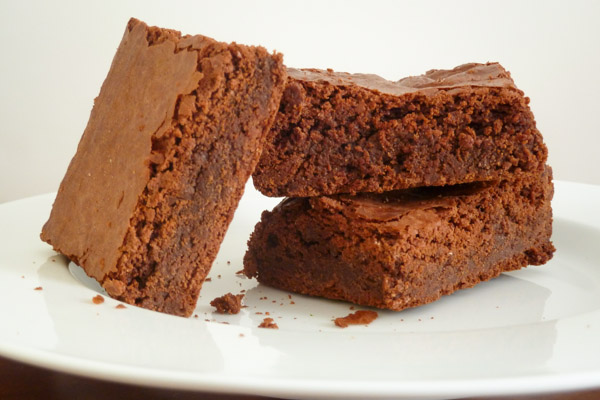
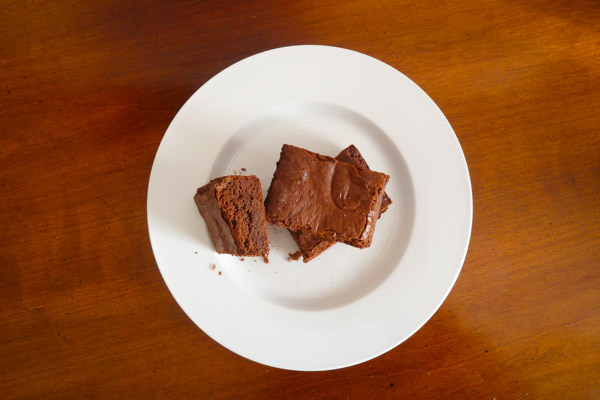
Sorry for yelling but these are one of the most moist fudgy style brownies you'll ever make. Please do me one really big favour and make these for dessert this weekend. I promise, fingers crossed, you will not be disappointed.

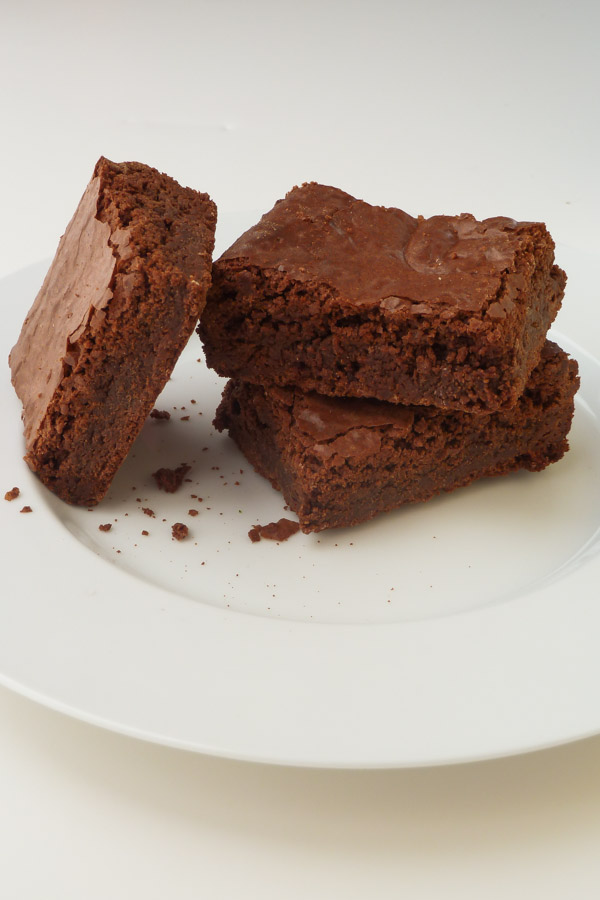
Every kitchen repertoire needs to have a solid recipe for scratch brownies and this is mine. You know those special treat nights when you've just got to have something chocolatey for dessert? One of these will certainly do the trick. And don't forget the vanilla bean ice cream. Mmm, Brownie a la mode.

Chocolate Brownies

I'm going to let you in on a little secret. Until recently I've only ever made these delights with none other than all-purpose flour. Albeit unbleached but still refined and white. Yes it has it's place in the kitchen for certain occasional purposes, but I wanted to see if I could make a change for a slightly healthier perspective. Hey a brownie is a brownie and it's still dessert. Anyway, taking a leap of faith that it would work, I swapped the super refined all-purpose flour out for one of my favourites, whole grain red fife. Locally from Peterborough Ontario, it's Canada's oldest wheat discovered by David Fife. It's quite nutritious too.

Time for a mini history lesson!

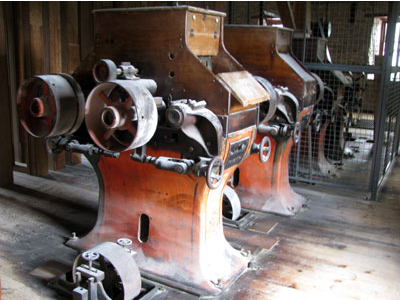
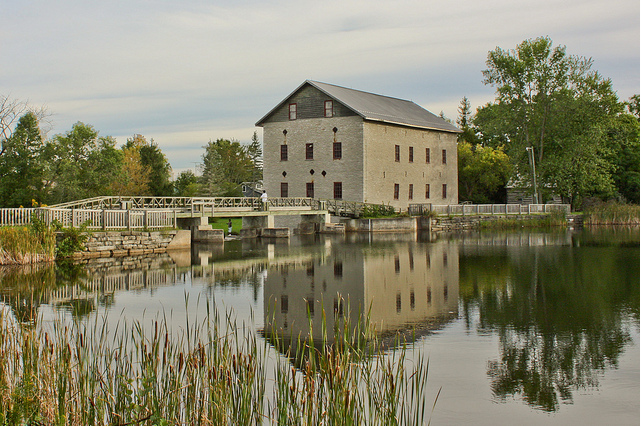
Lang Grist Mill: Red Fife Flour

When I was younger we got to visit my family often in Peterborough since my dad grew up there. There was this one time when we took a trip to the historic Lang Grist Mill; the site where David Fife first started grinding red fife wheat into flour. The mill is part of the Lang Pioneer Village from the early 1800's that's still grinding red fife wheat into flour to this day.

I'm going to have to get back here one of these days.

David Fife: Lang Grist Mill

A rich decadent chocolate treat that is quick and easy to get in the oven in no time flat. The best part is I couldn't even tell that I used red fife flour instead of all-purpose. 

Your family will go crazy for these.

The best Brownies from scratch

Best Ever Chocolate Brownies (makes 16, 2-inch squares)

Print or Email This Recipe

Ingredients:

  • 8 oz semi-sweet chocolate
  • 1/4 cup salted butter, softened
  • 1 cup dark brown sugar, packed
  • 1 tsp pure vanilla
  • 2 large eggs, room temperature
  • 1/2 cup red fife flour (you may also use all-purpose if you prefer it or can't find red fife)
  • 1 tsp baking powder

Directions:

  1. Preheat oven to 350*F. Grease and flour an 8x8 inch baking pan.
  2. Melt the chocolate and butter using a bain marie (place the chocolate + butter in a heat-proof bowl and place over a snug fitting saucepan of simmering water, but don't let the bowl touch the water). Stir consistently until melted. Set aside to cool for 5 minutes.
  3. Add the brown sugar and vanilla to the chocolate mix and stir to combine. Add the eggs one at a time, mixing well after each addition.
  4. In a separate bowl, mix together the flour and baking powder, add to the chocolate batter, and mix well.
  5. Pour into the prepared pan and bake for 30-35 minutes, until the center is almost firm to the touch and a toothpick inserted into the center comes out clean.
  6. Let cool in the pan. Cut and serve.

**Note** To bring your eggs to room temperature just gently place them in a bowl and cover with hot tap water. Let them sit in the water for 2 minutes and remove.

Brownie Recipe